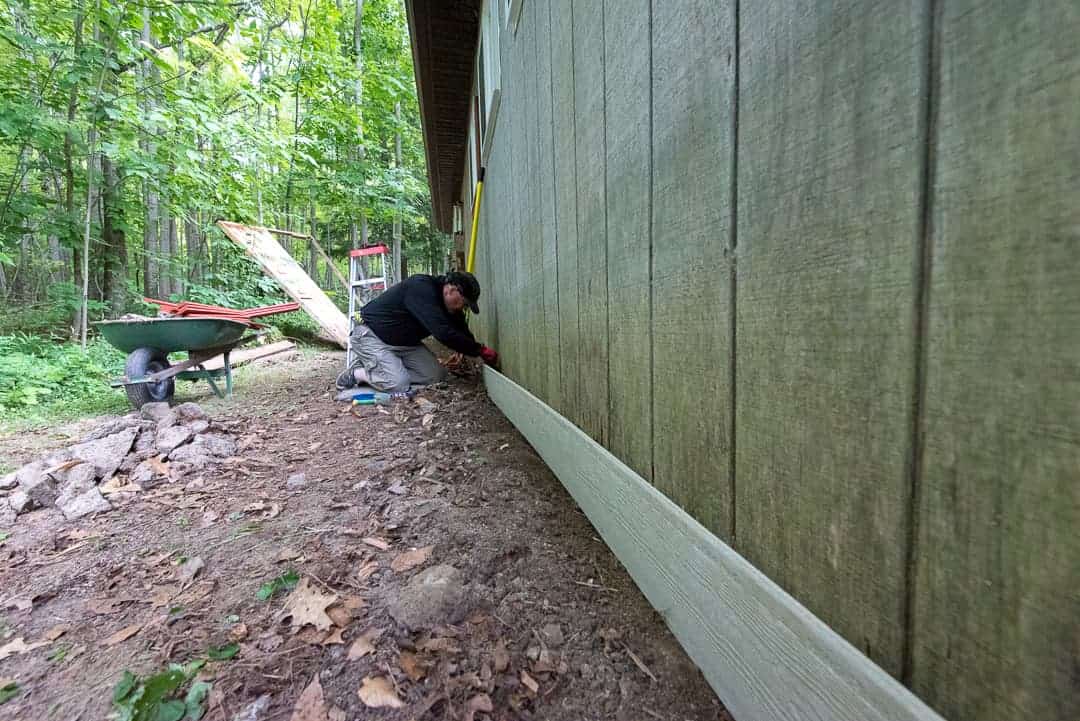
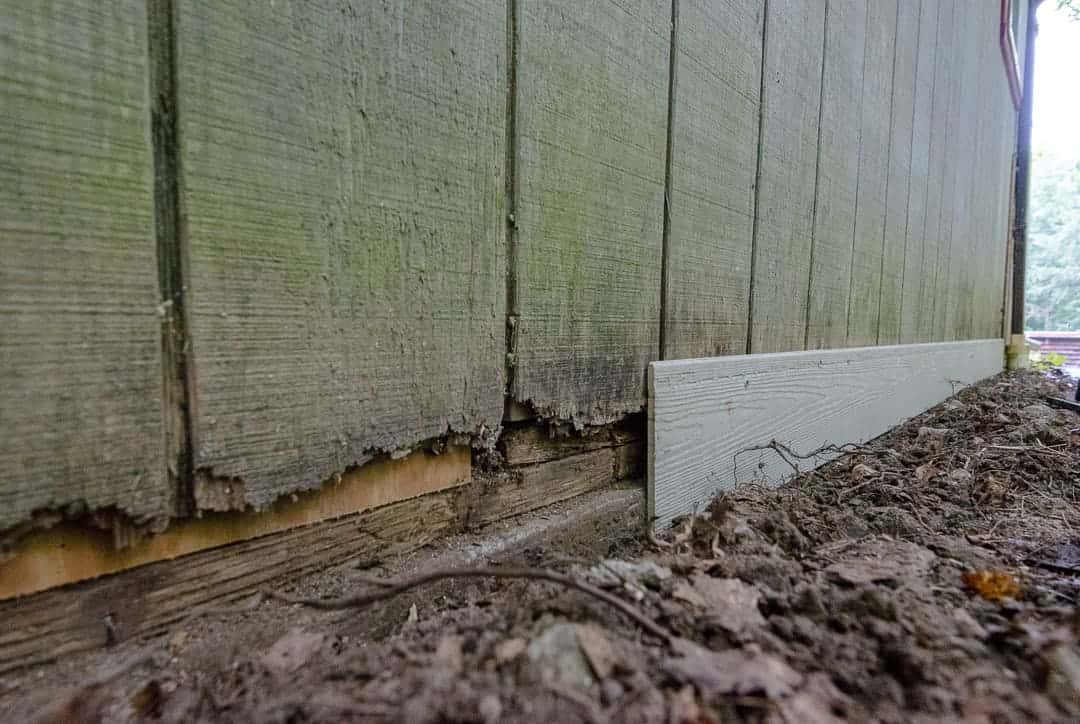
We figured out a plan for sealing up the back wall along the foundation. My dad has a knack for figuring out cost effective building solutions; we are Polish immigrants so being resourceful with limited materials and money is sort of our skill set. It would be too expensive to remove and replace the rotten T1-11, even if we did it just along the lower section- 4 ft x 8 ft sheets run anywhere between $25-$40 depending on quality. We wanted to secure the baseline perimeter with a material that would protect against moisture, rodents and insects but not break my bank. We decided to use Hardi board siding panels, aluminum flashing, and silicone caulk.
Hardie board, developed by James Hardie in the 1980s, is a siding material composed of cement fibers, sand, water, and cellulose wood fibers. It is extremely durable and does not retain moisture so it does not rot or warp. We picked up 12ft long siding panels for $9.08 a piece and 10ft preformed strips of aluminum flashing for $2.88 a piece at Lowes. Honestly, I absolutely hate Lowes and prefer Home Depot but my dad gave me a gift card and there we went.
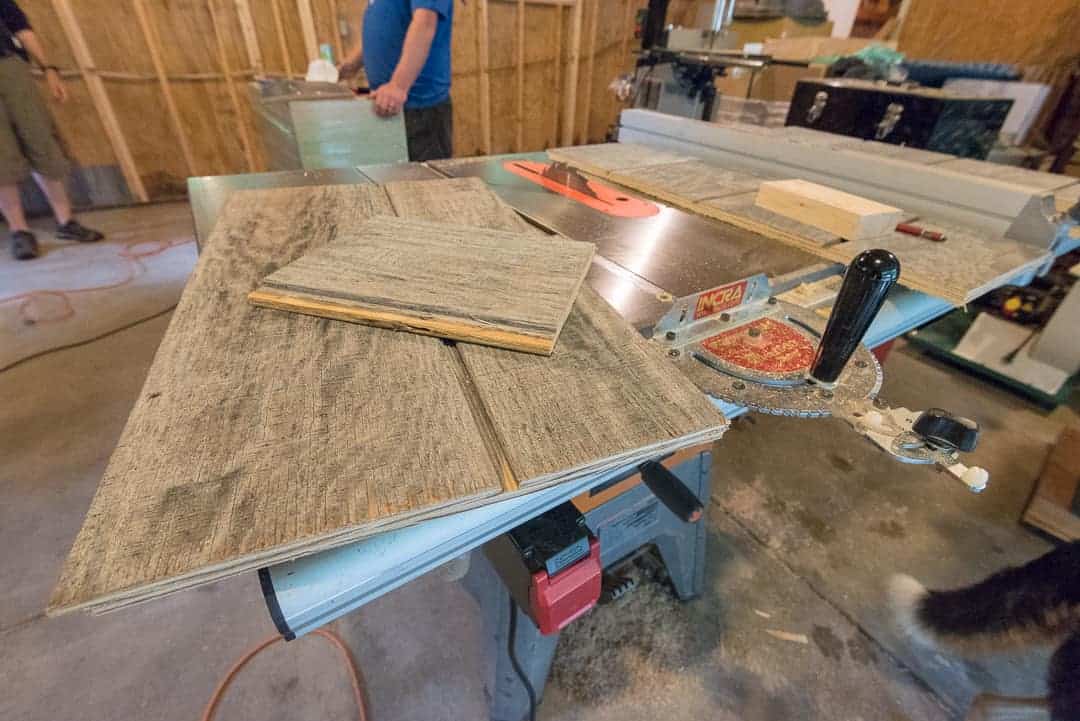
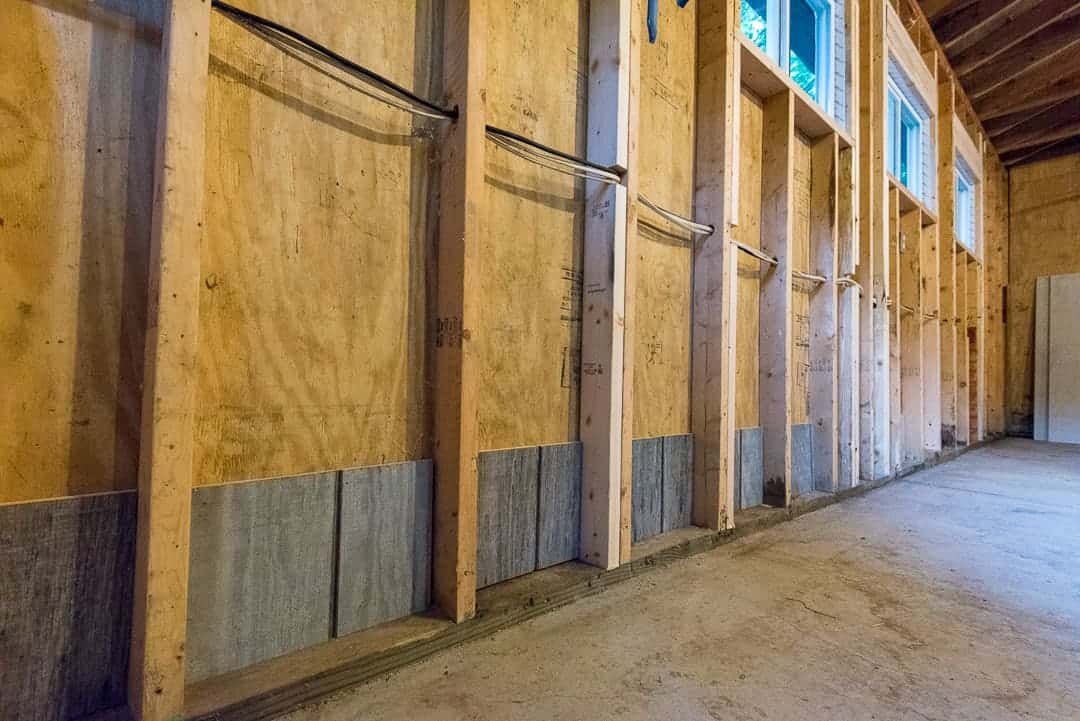
To reinforce the base of the walls from the inside, we repurposed the planks of T1-11 that were cut out for the windows and nailed them in. Before I insulate the walls, I’ll seal the edges with spray foam to make sure everything is nice and tight.
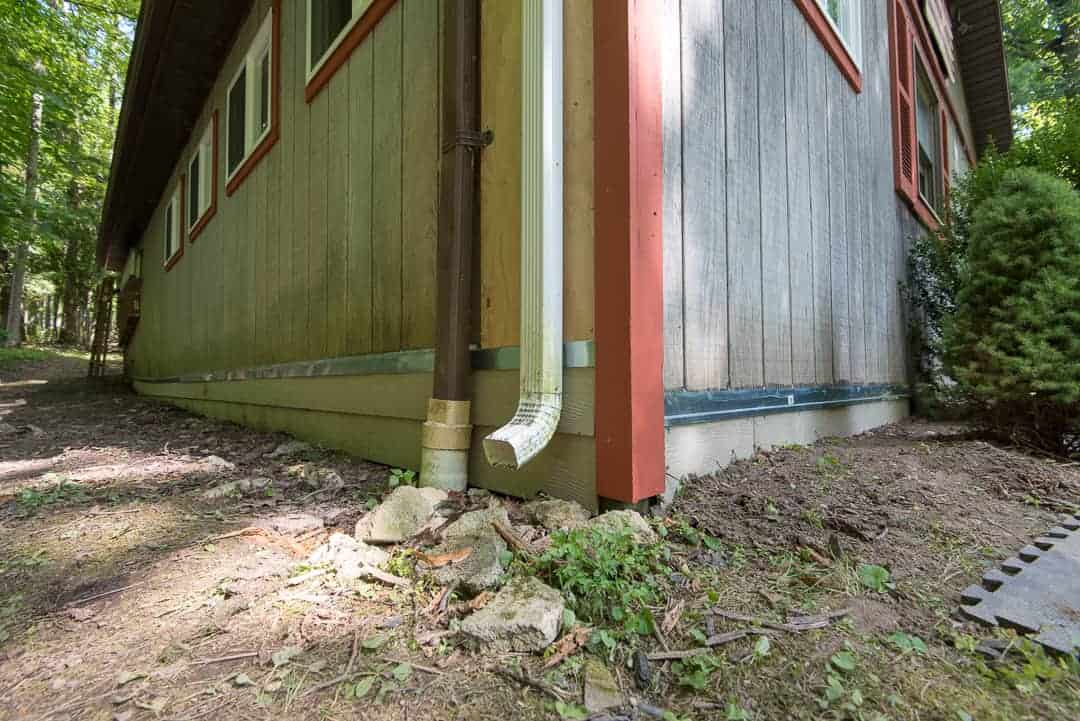
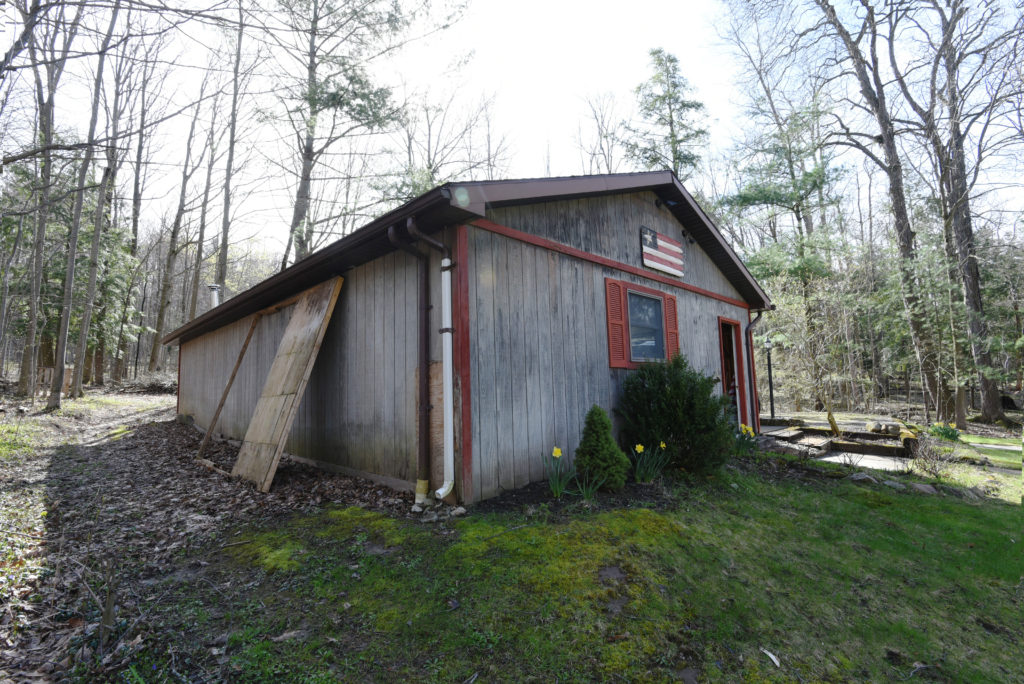
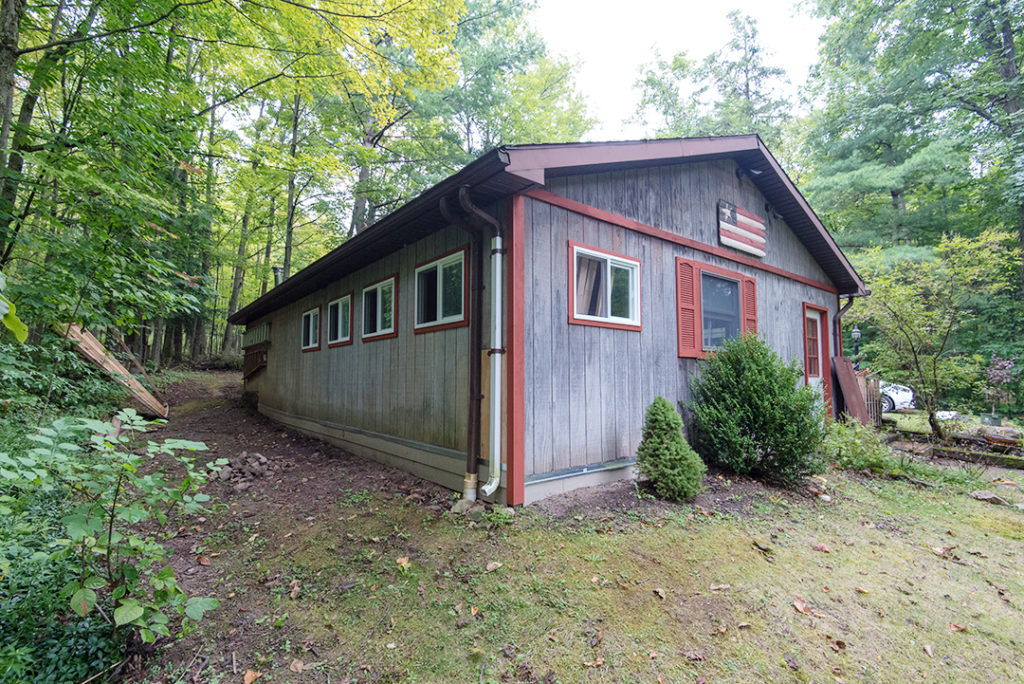
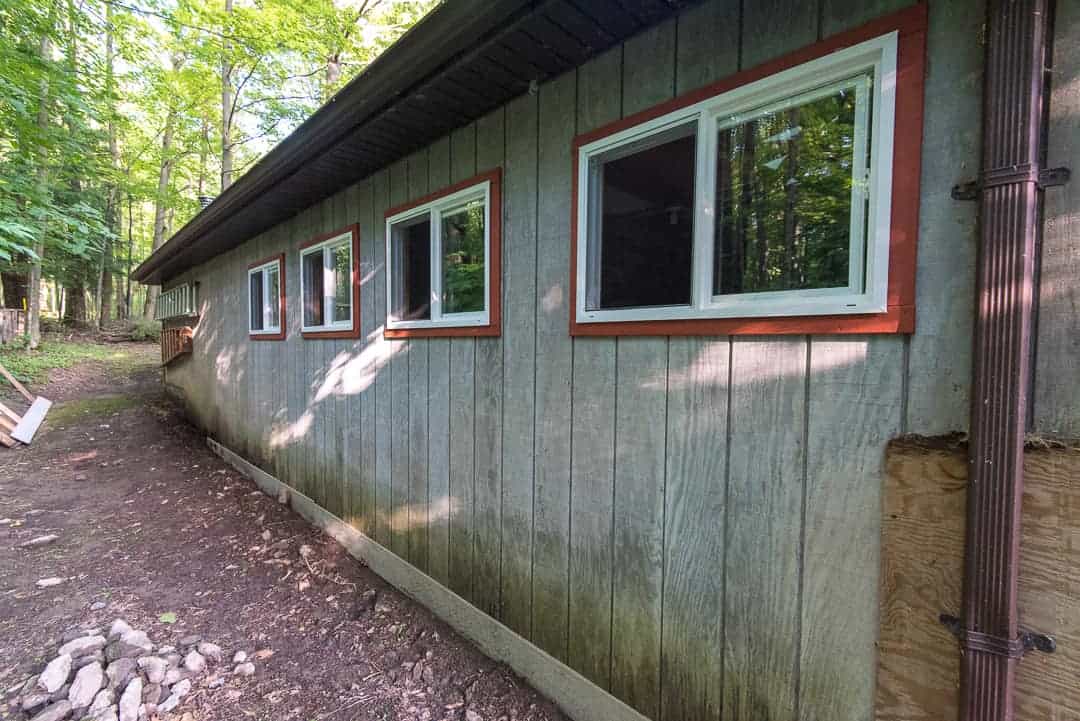
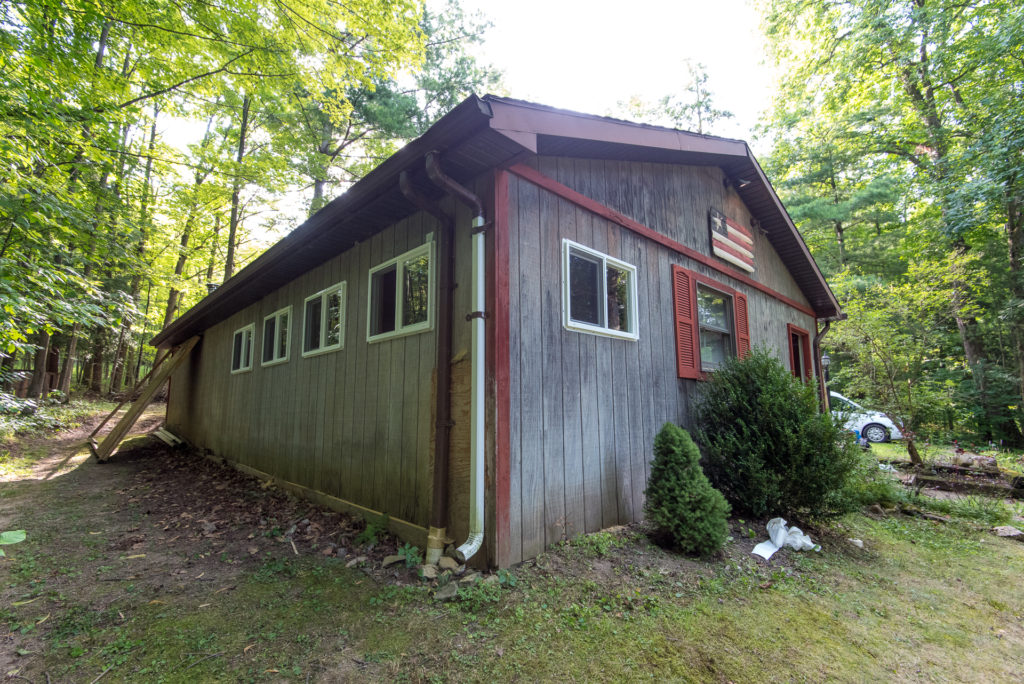
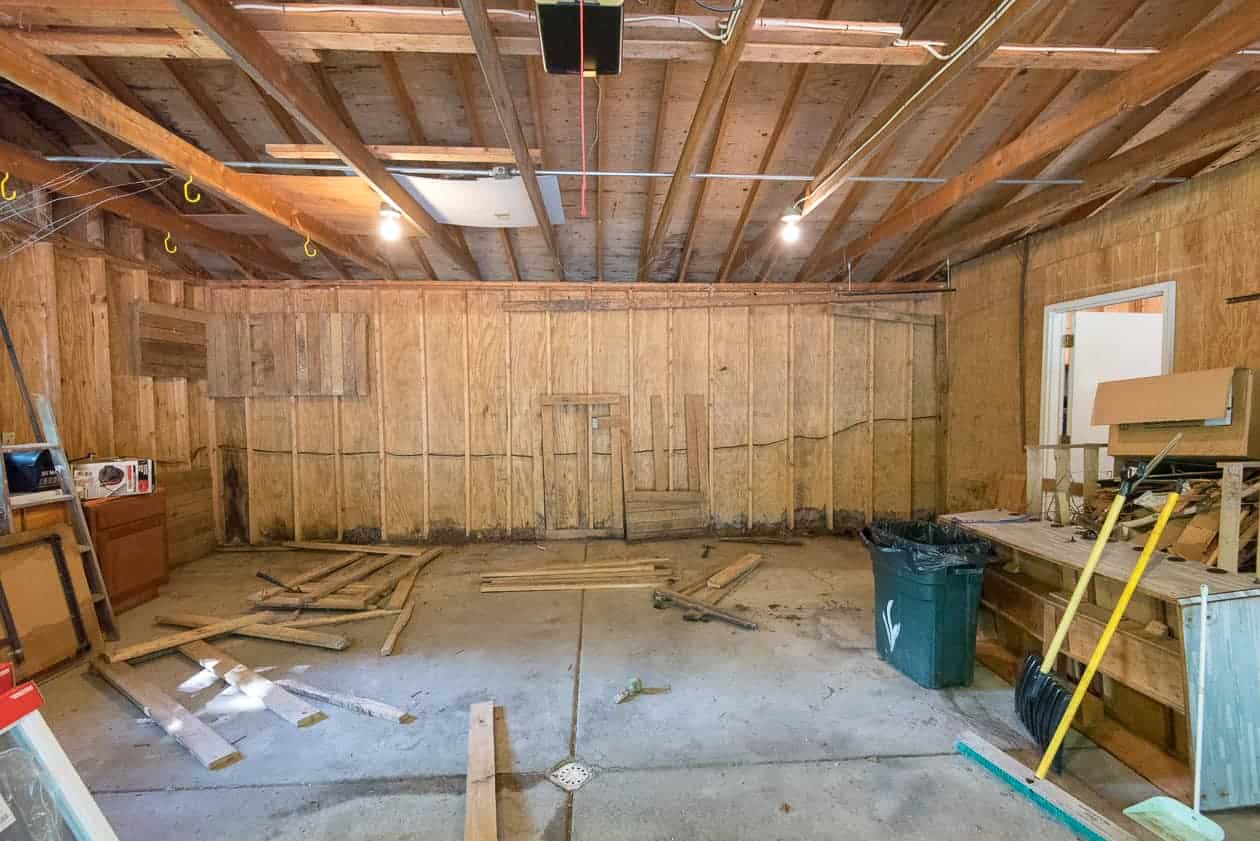
I decided to wrap the Hardi board around the entire garage to protect against any future damage. Eventually, I will need to dig out all the soil away from the exterior walls and grade it to direct water away from the building, but for now this will temporarily solve my problems and keep the structure secure. There’s a lot to do to get the shop running on the inside and I only have time to shut the shop down for a month before I need to get orders into production, but I’m pretty happy about the progress thus far. Here’s the current before and after…
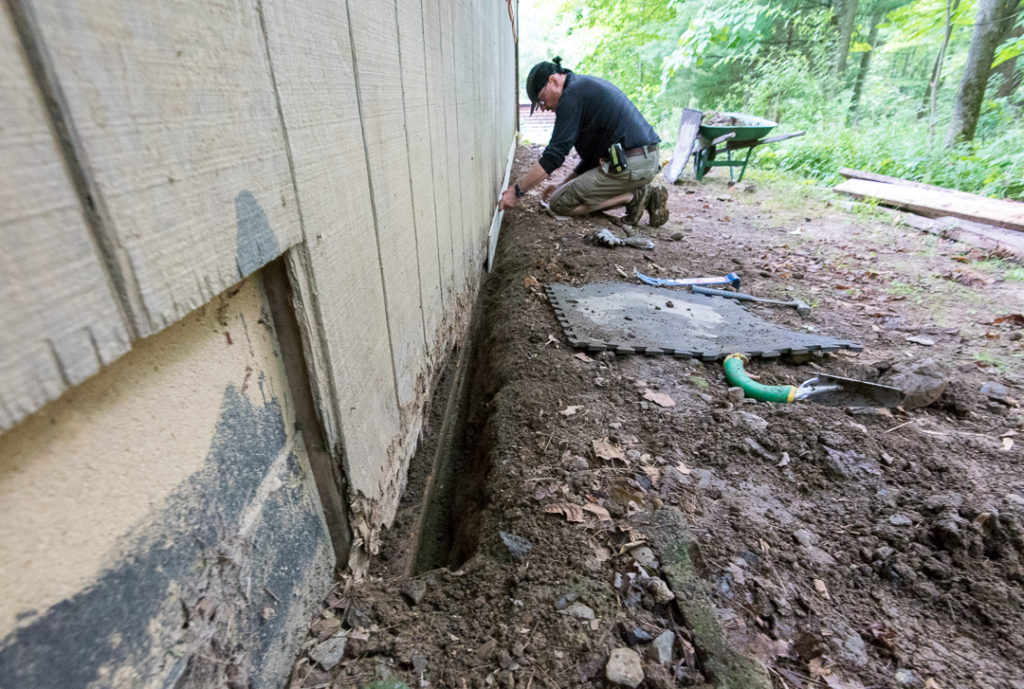
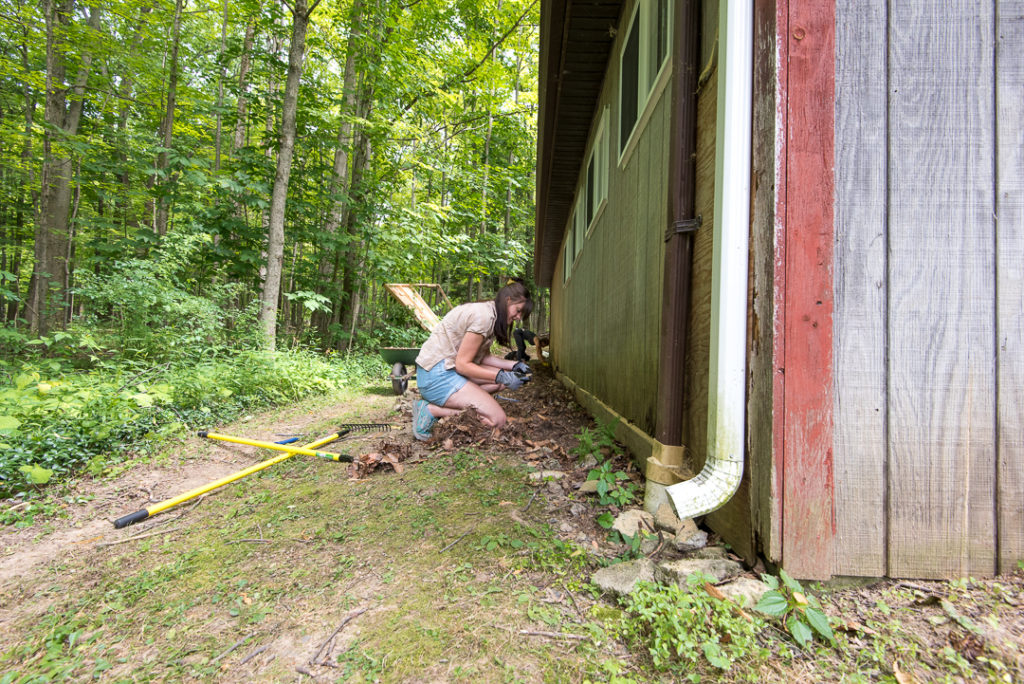
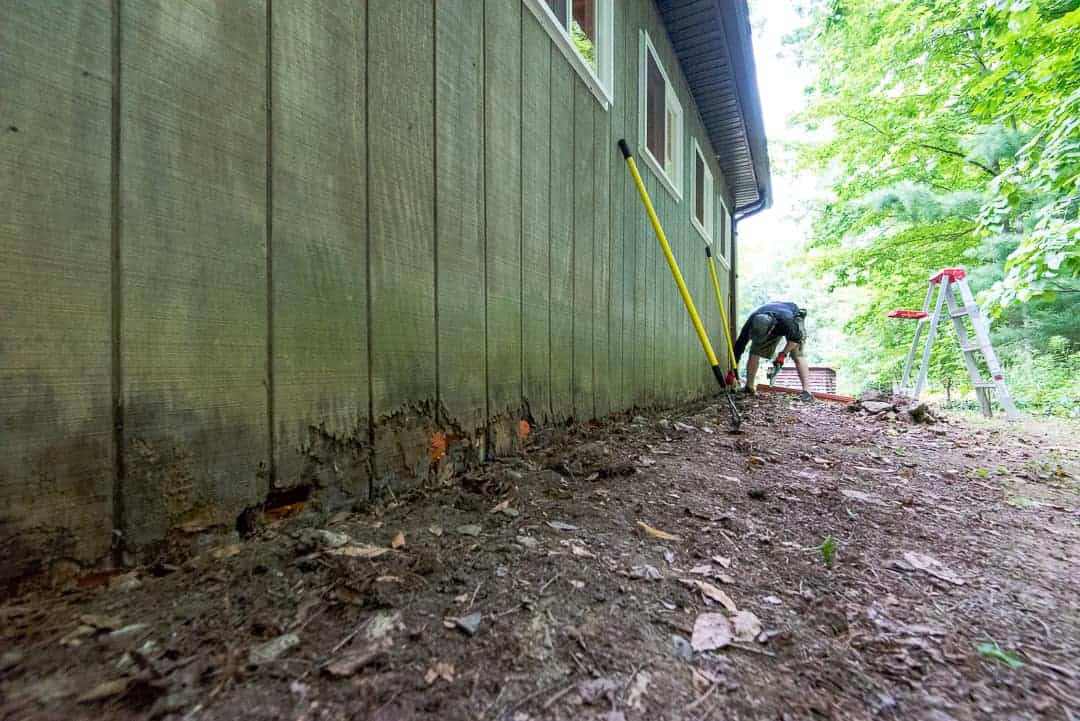
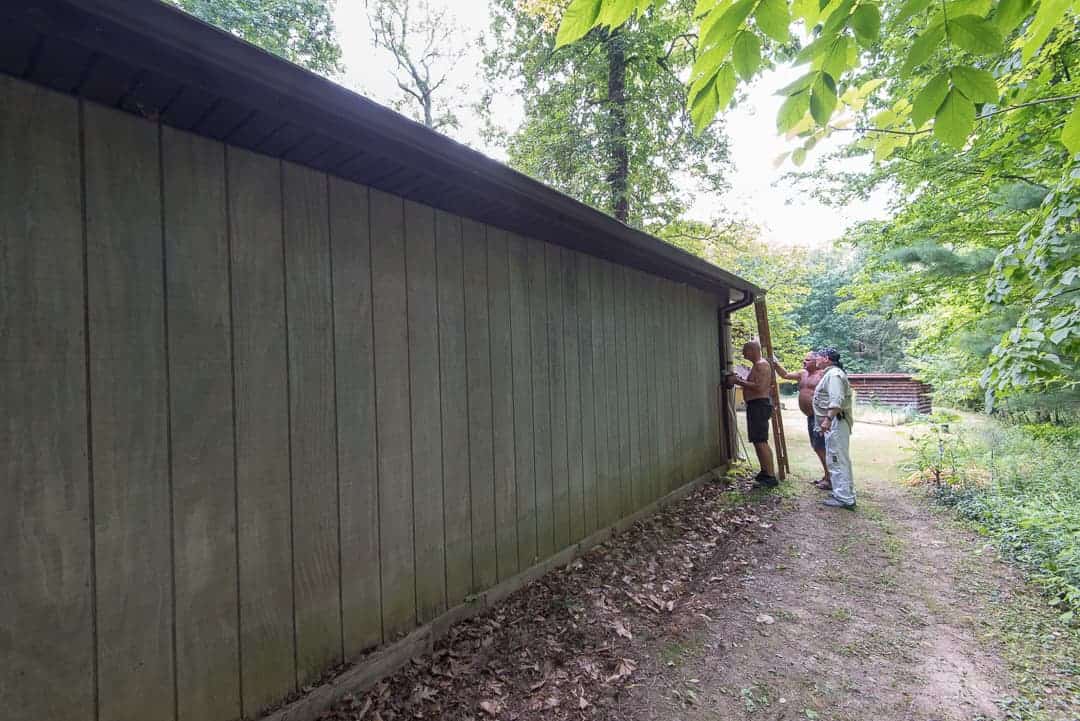
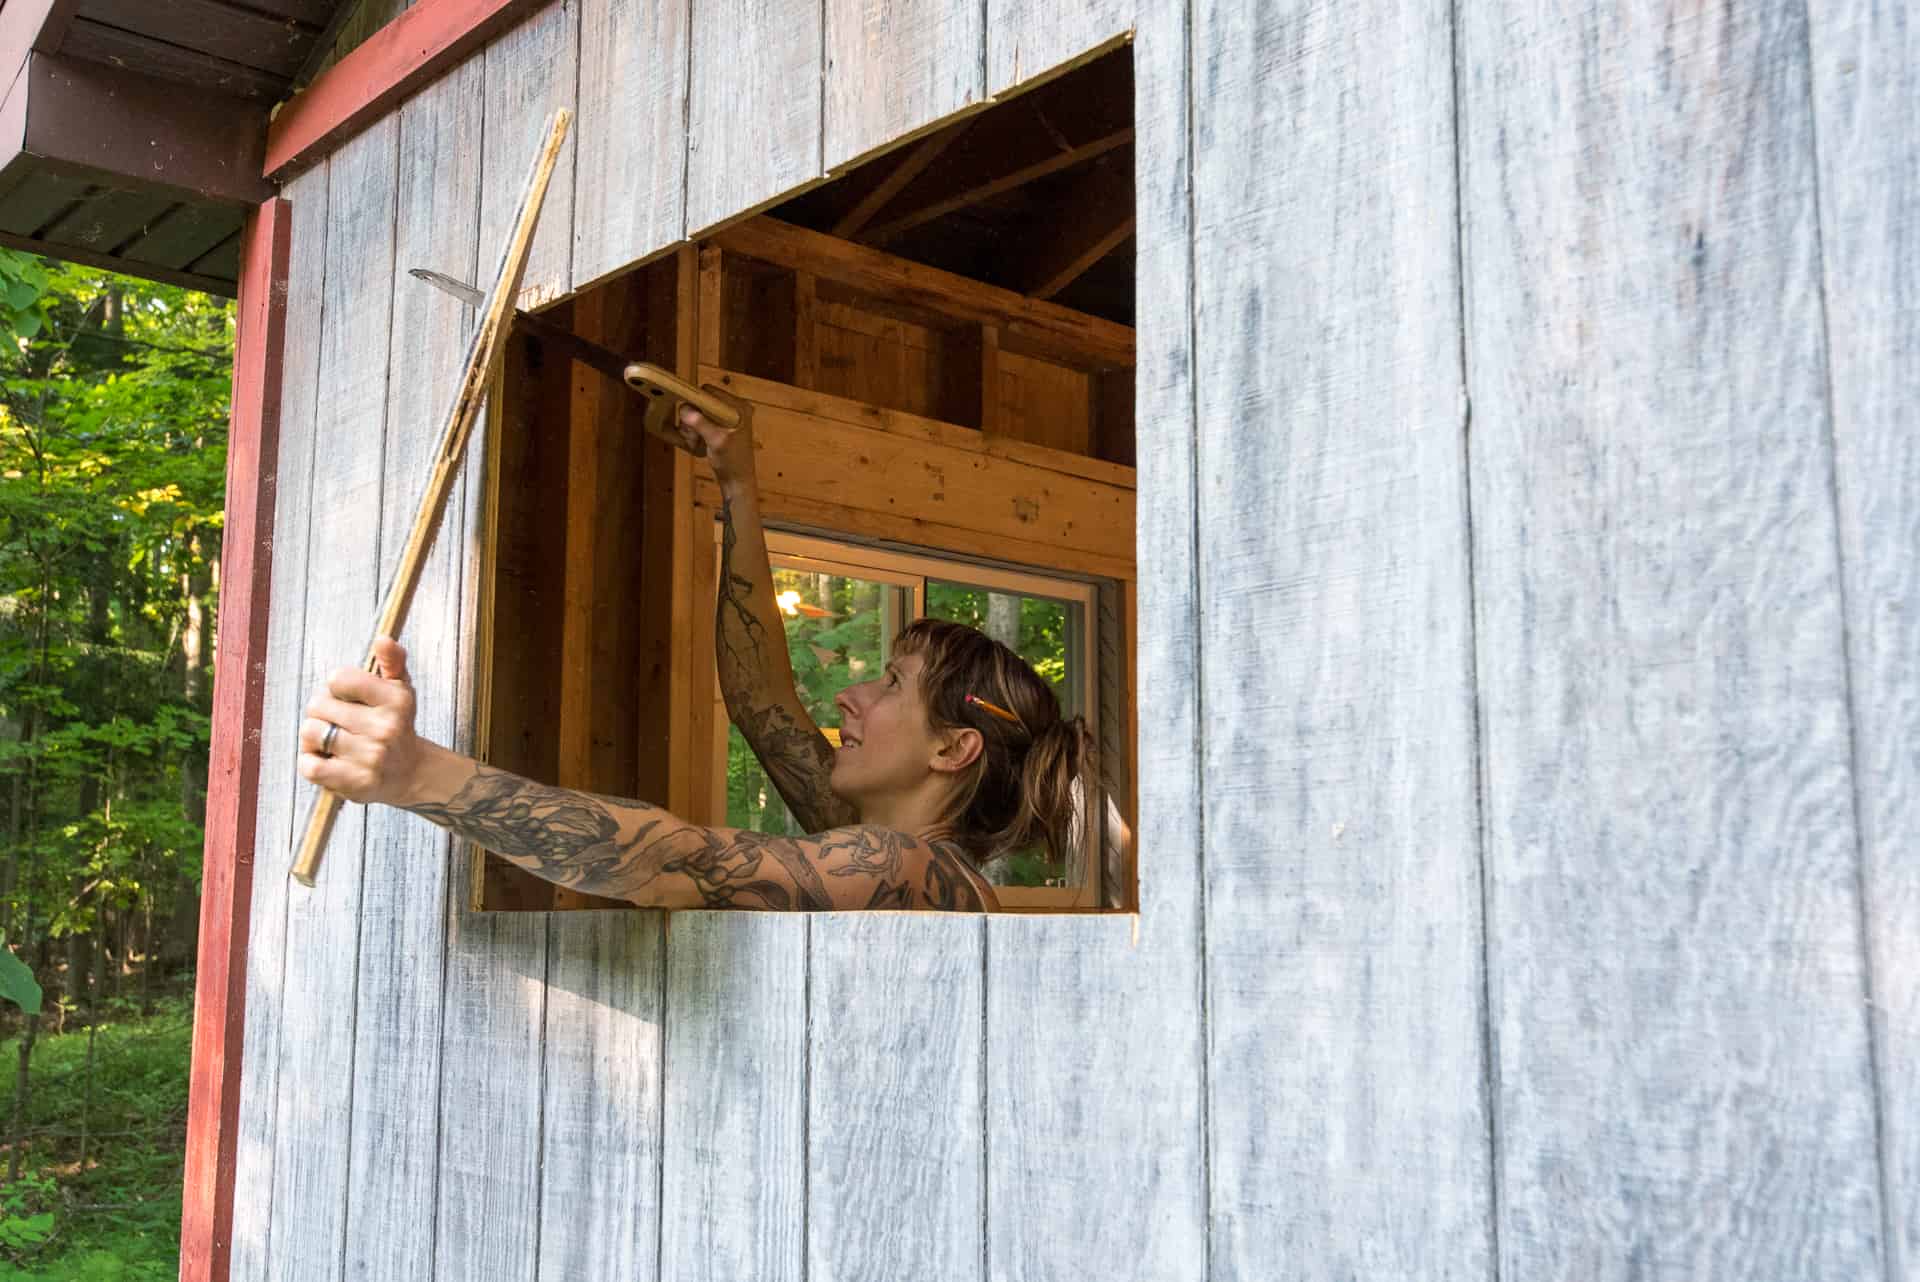
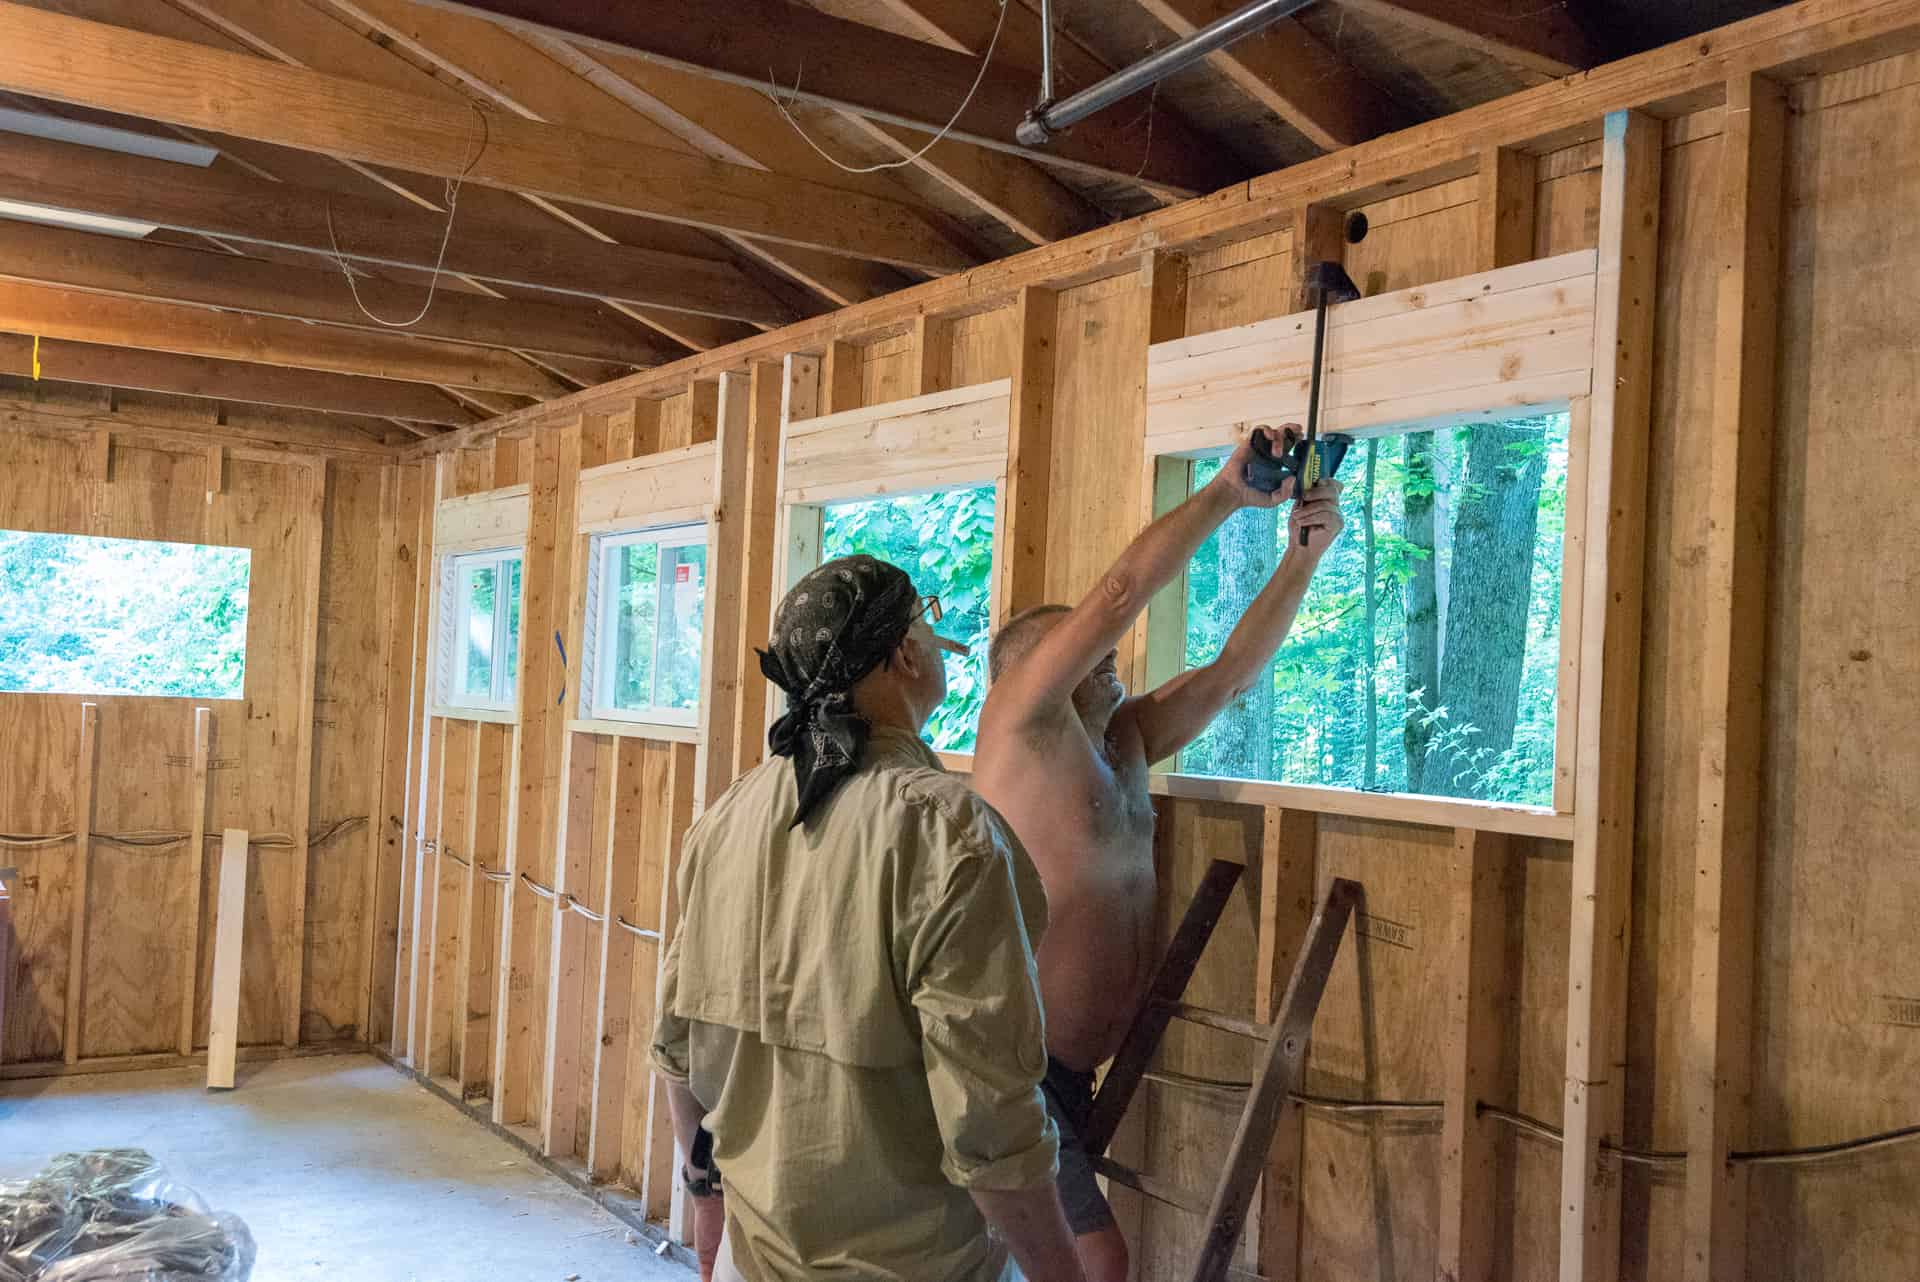
Thursdays in the shop have become a routine teaching day, and my apprentices Maura and Amber have humorously coined it ‘Girls Gone Woodworking.” I firmly believe that learning and fun are equally important and vital to the success of any team. The day’s agenda had included learning to install windows, but as that project had been completed ahead of schedule, we moved on to window trim and digging up the foundation along the back of the garage.
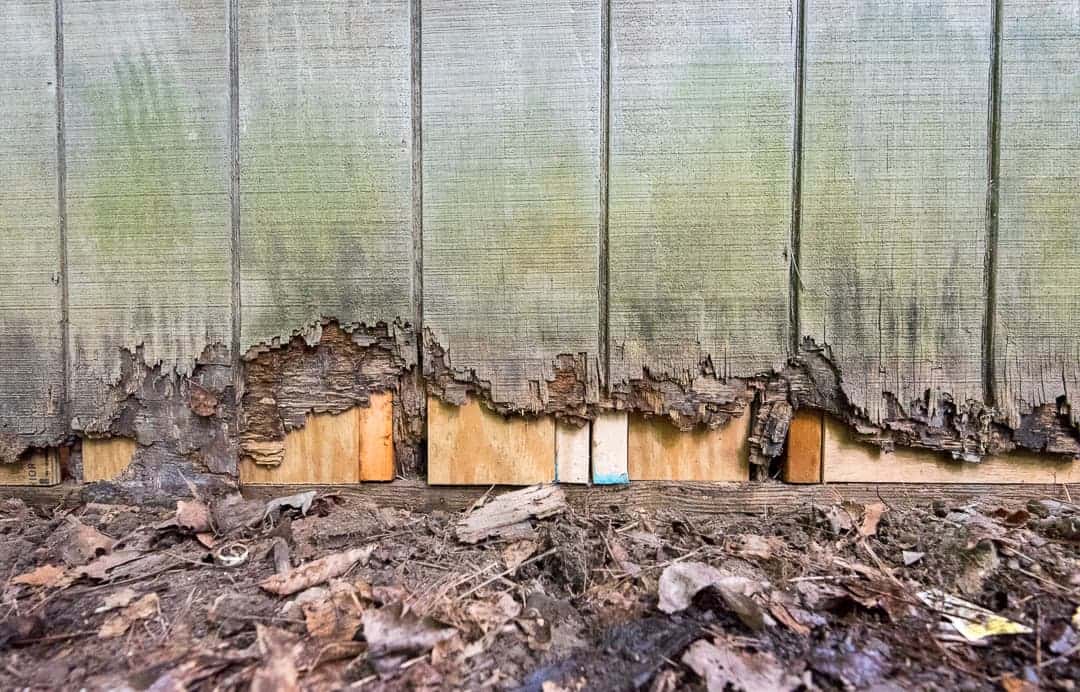
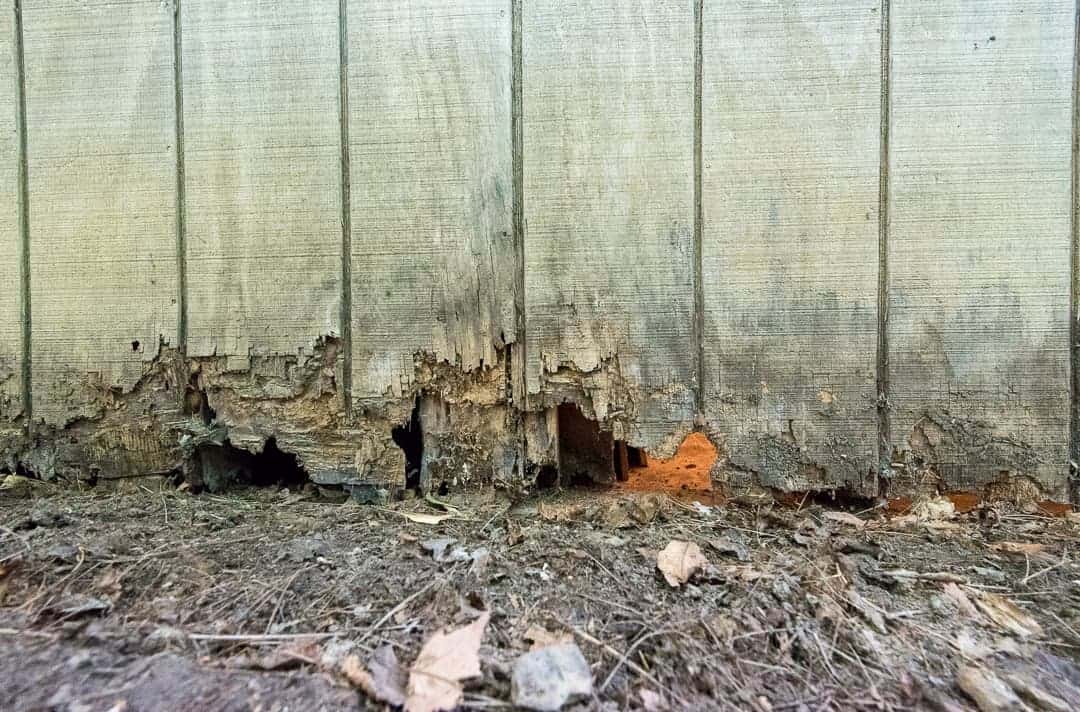
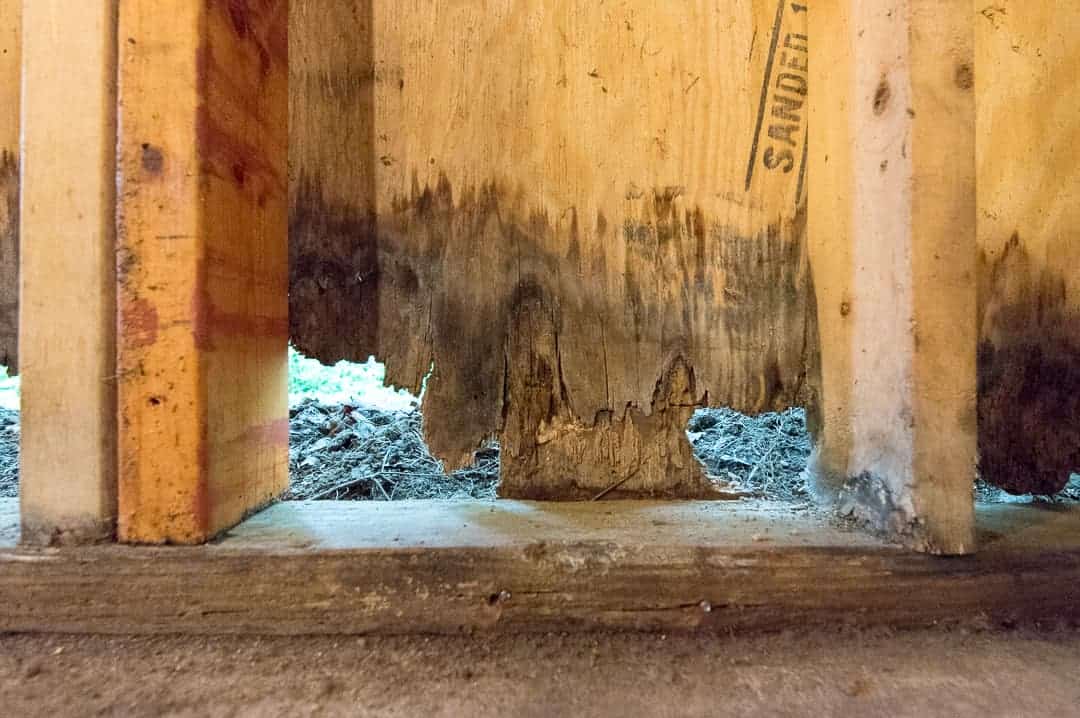
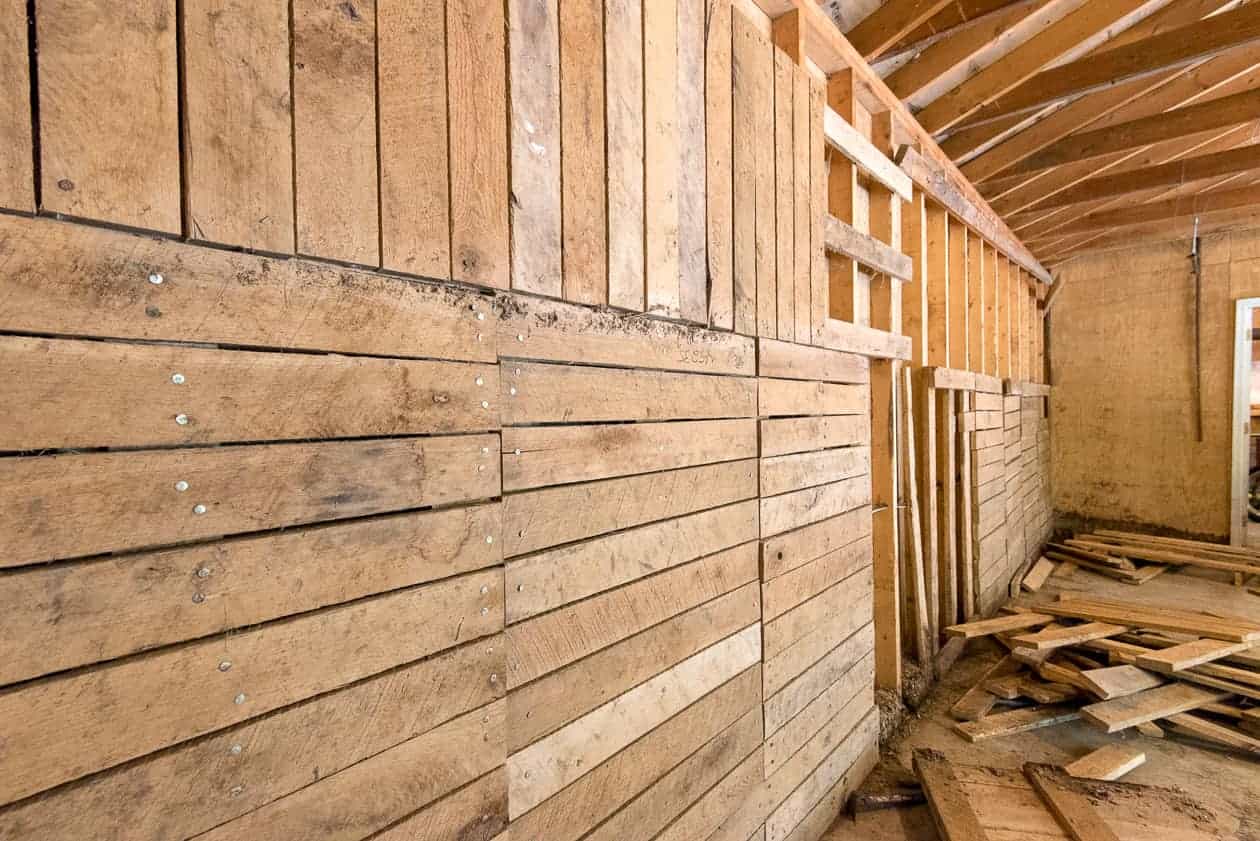
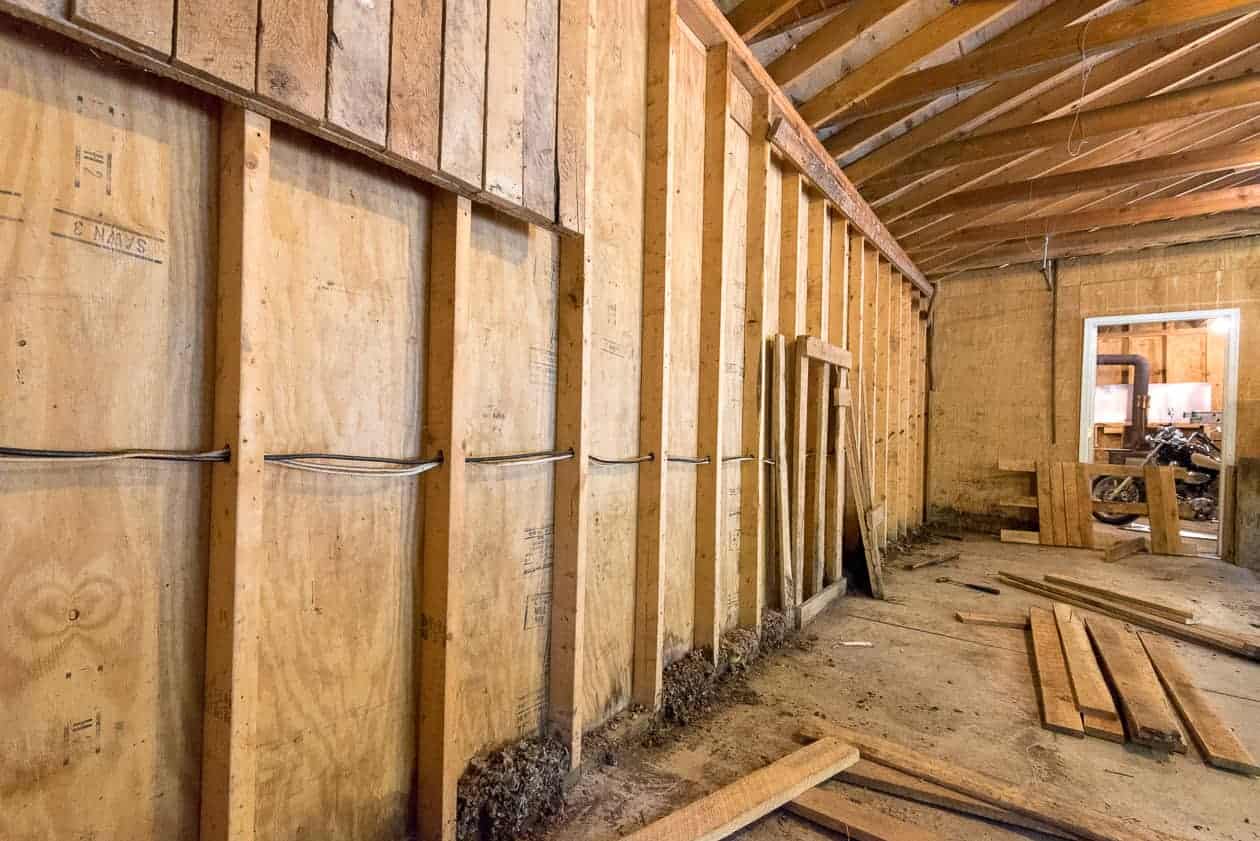
The outer walls of the shop are composed of a plywood material called T1-11, a common wood siding that was popular in the 1960s-1980s. Over time, modern engineering gave us composite and vinyl siding which is rot resistant so it isn’t as popular anymore. The material is quite durable and moisture resistant, but if not sealed properly it can fail.
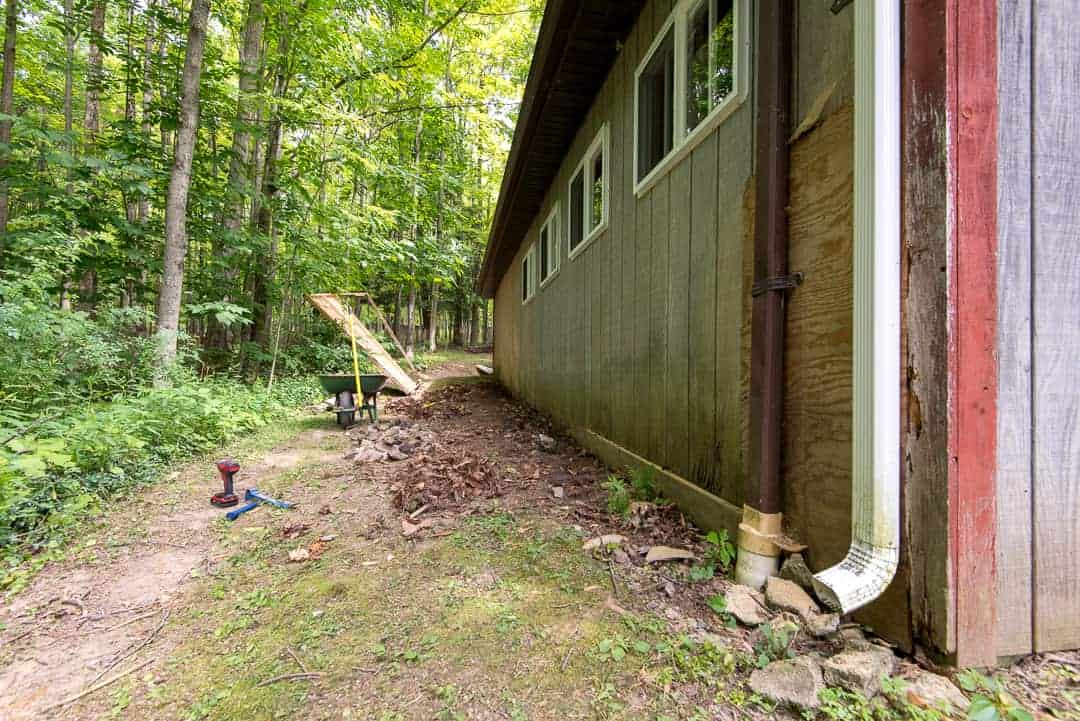
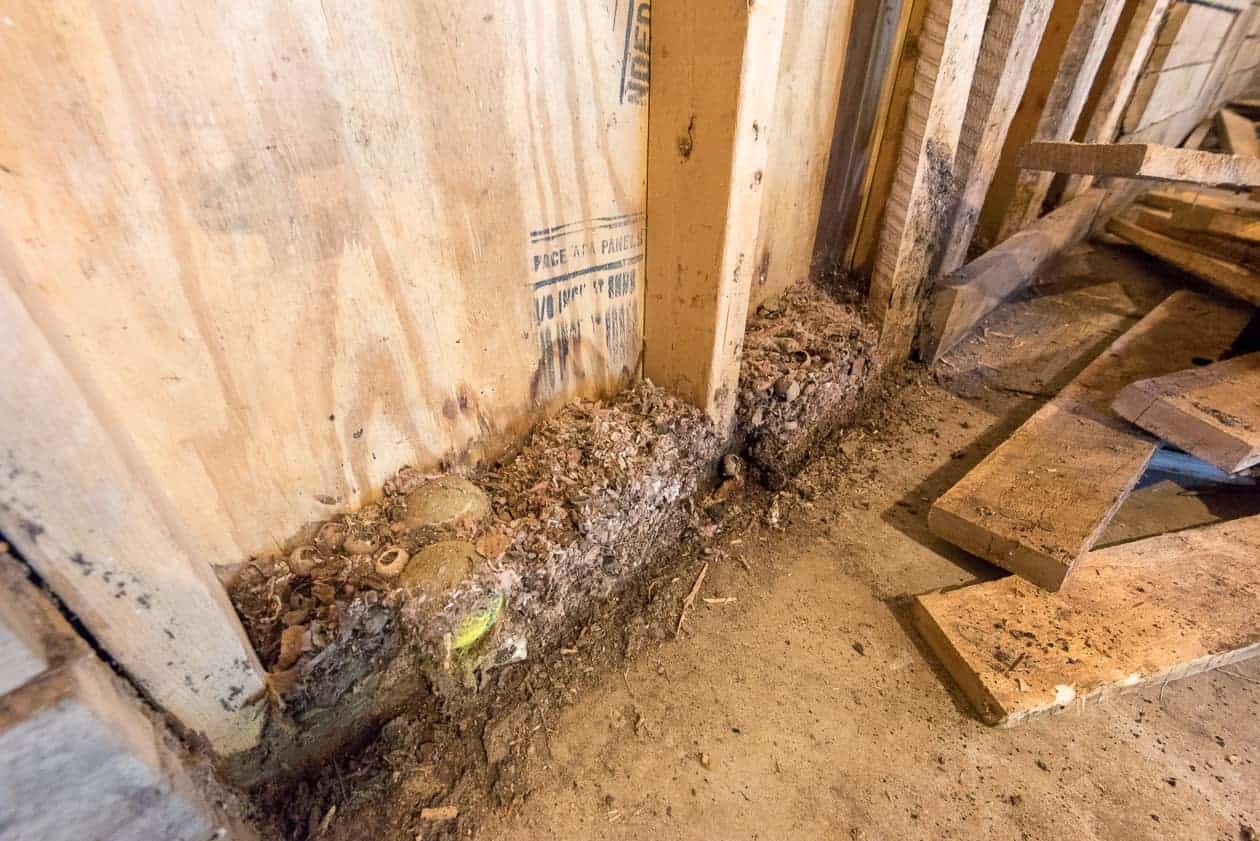
A few factors led to this damage. One, the gutters were clogged with leaves and water had been pouring onto the back of the garage for sometime. Serious problems will always occur when you don’t direct water away from your foundation. Two, soil and leaves were packed up against the T1-11, trapping moisture and pressure against the wall. Three, wood boards were nailed upon the base of the back wall. My best guess was that the previous owners tried reinforcing the back wall to keep mice and rodents out, but this attempt actually worsened the situation and caused more damage. The boards simply trapped water against the T1-11 and mice just dug beneath and nested inside the “shelter” that was created.
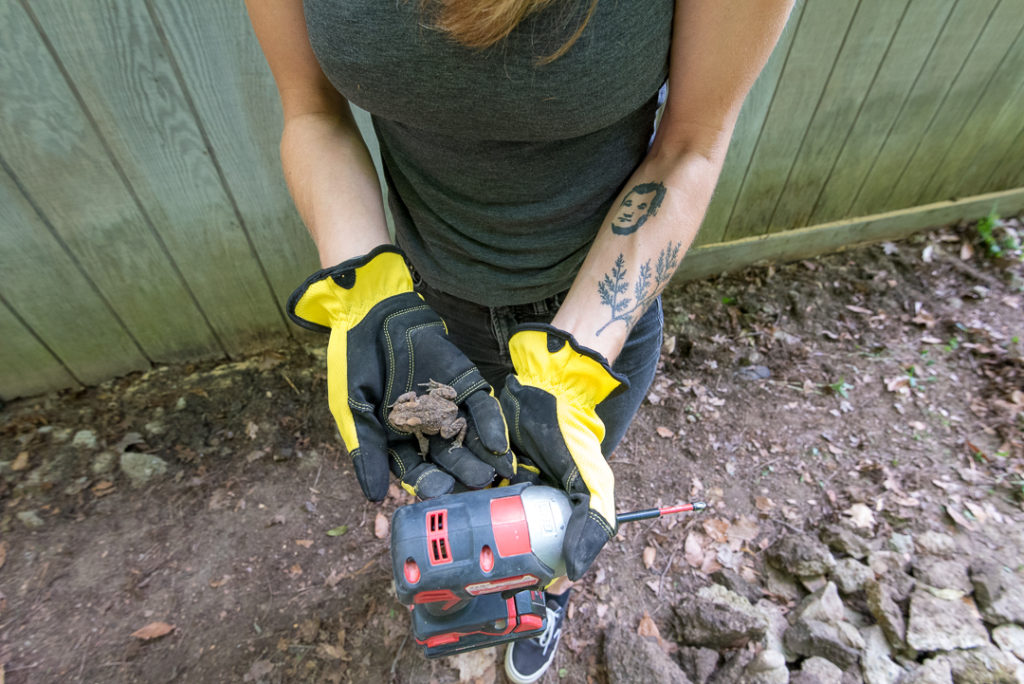
We also discovered a new friend while digging around. There are TONs of toads around the new space.
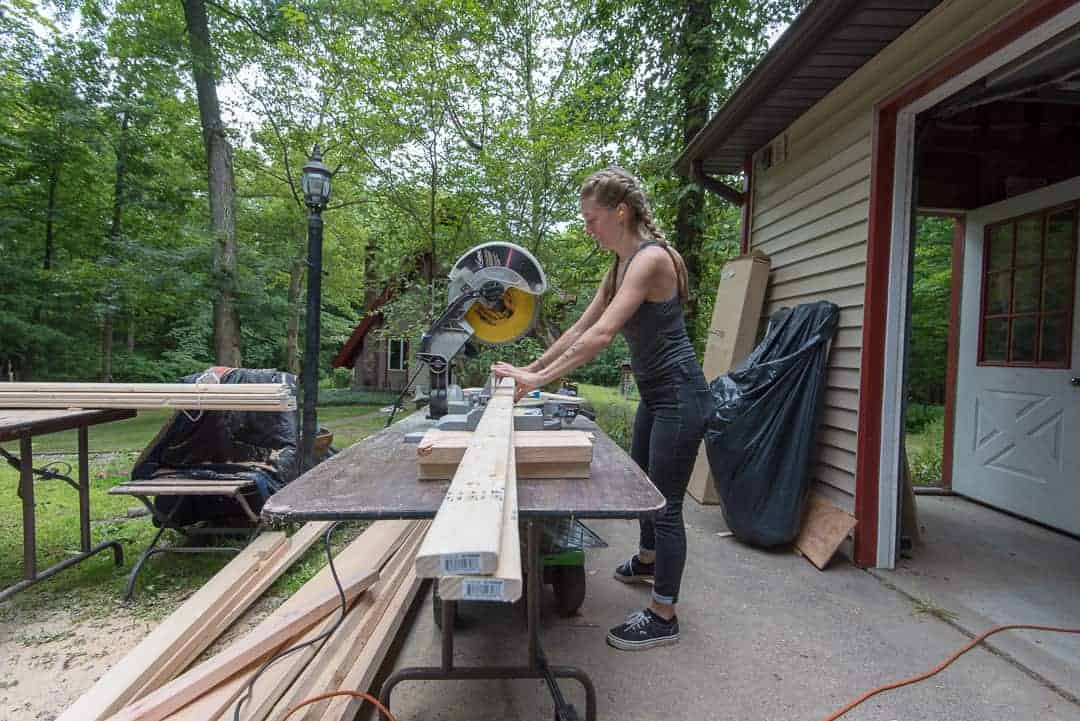
Sealing up the foundation on the budget I have for the shop will require some resourceful planning, so we put the problem off for another day, giving the back wall some time to dry out. The new windows need trim, so we tackle that next. Ideally, one would use red cedar to trim exterior windows because it resists decay and insect infestation. I don’t have a large budget to renovate the shop, about $2000 total for windows, insulation, lights, and getting the space sealed up for winter. I can make improvements over time, but these are the basics I need to get rolling.
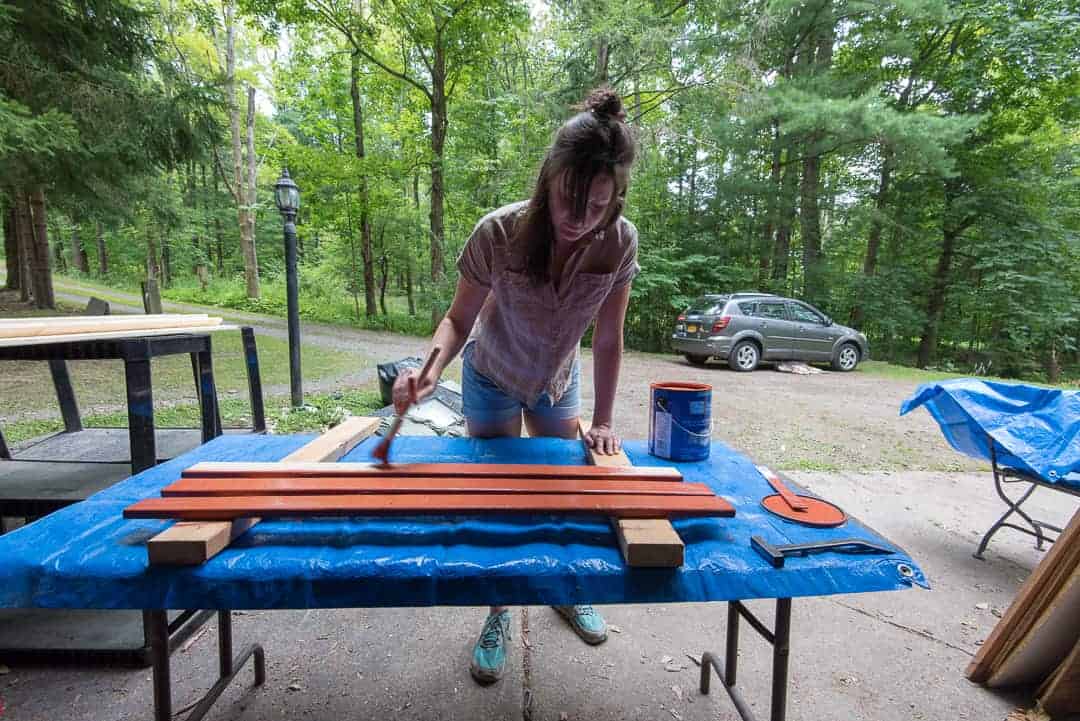
Instead of dropping $8 on a 8ft board of cedar trim, I buy 8ft strips of pine 1×3 for $1.36, this saves me over $150 on window trim. We weatherize them with a quality exterior paint. One thing I’ve learned as a homeowner, ALWAYS ALWAYS ALWAYS spend the extra $10-$15 on better pant, it’s a corner you NEVER want to cut. The windows on the back of the garage sit under a 12in overhang, so as long as they are caulked well with silicon, they will be just fine.
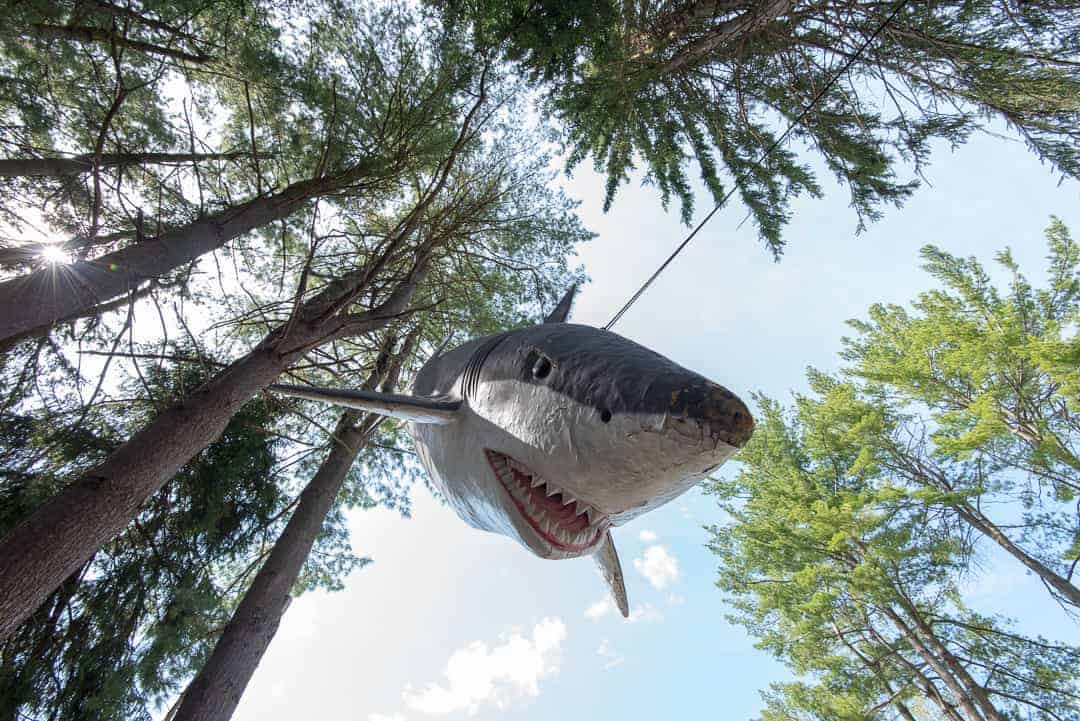
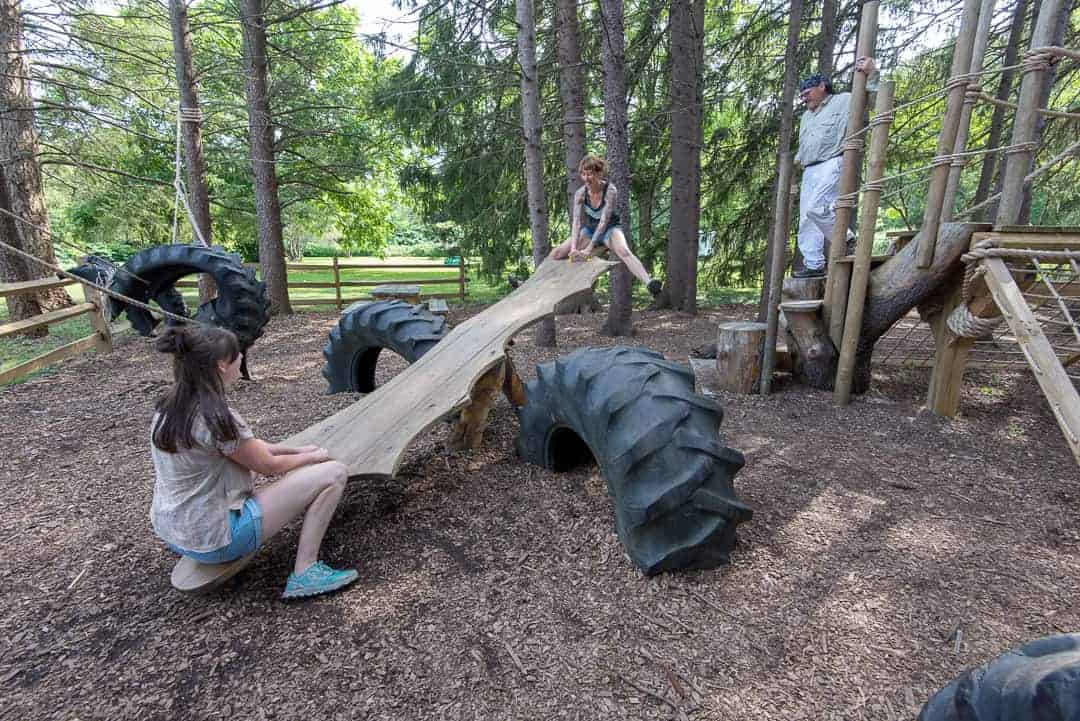
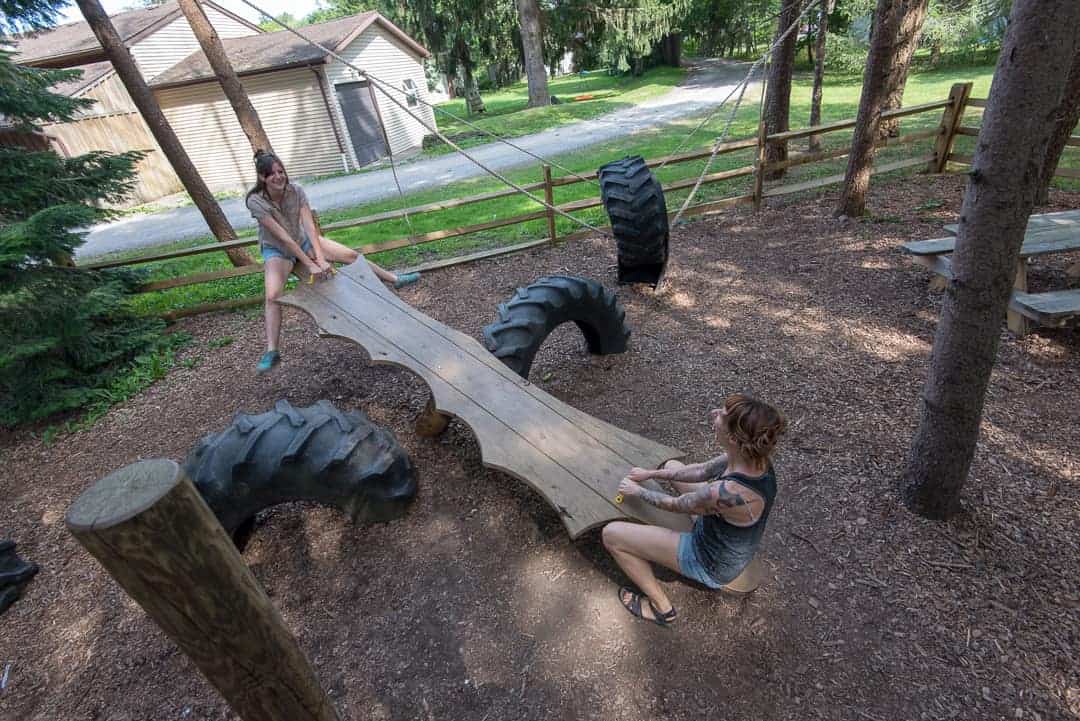
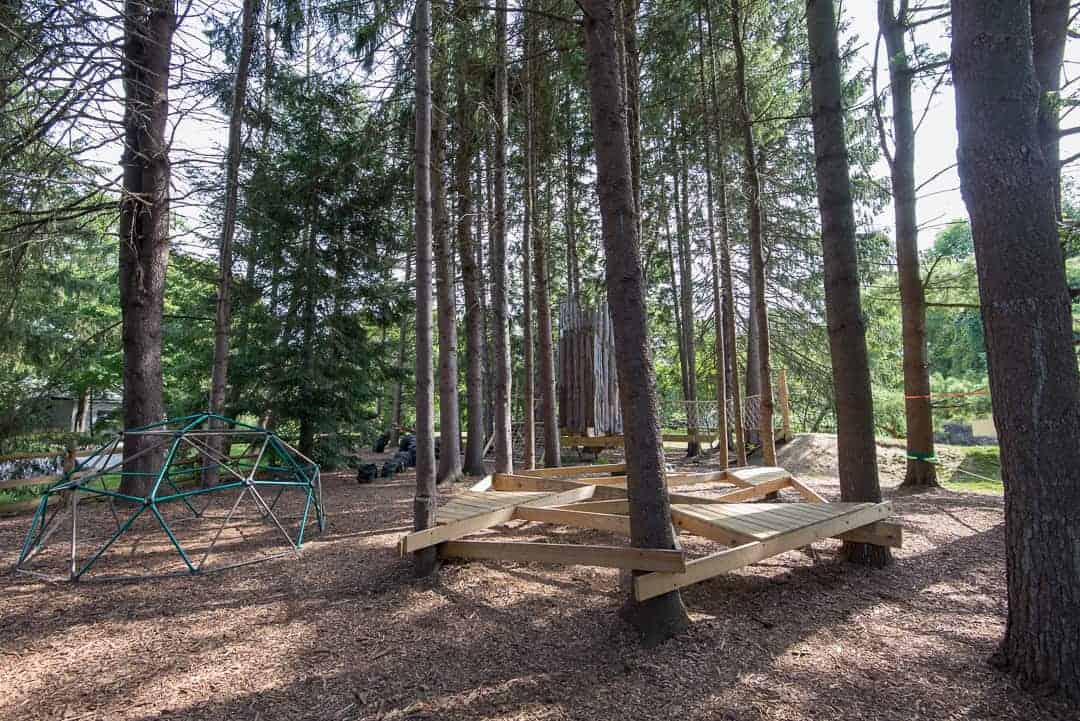
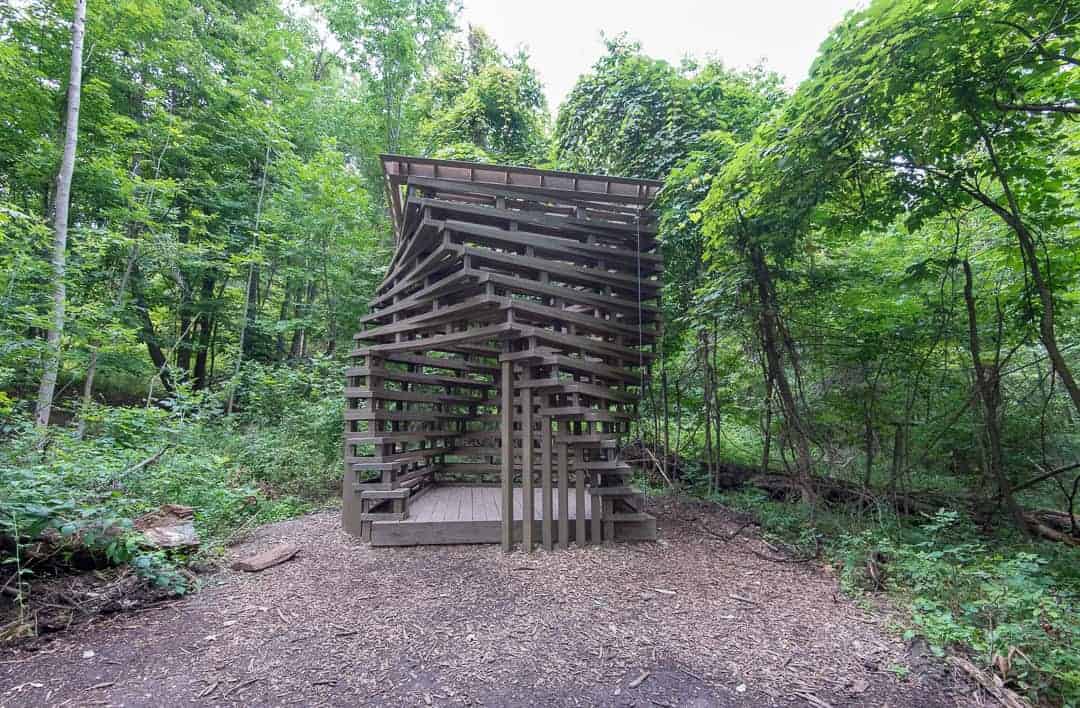
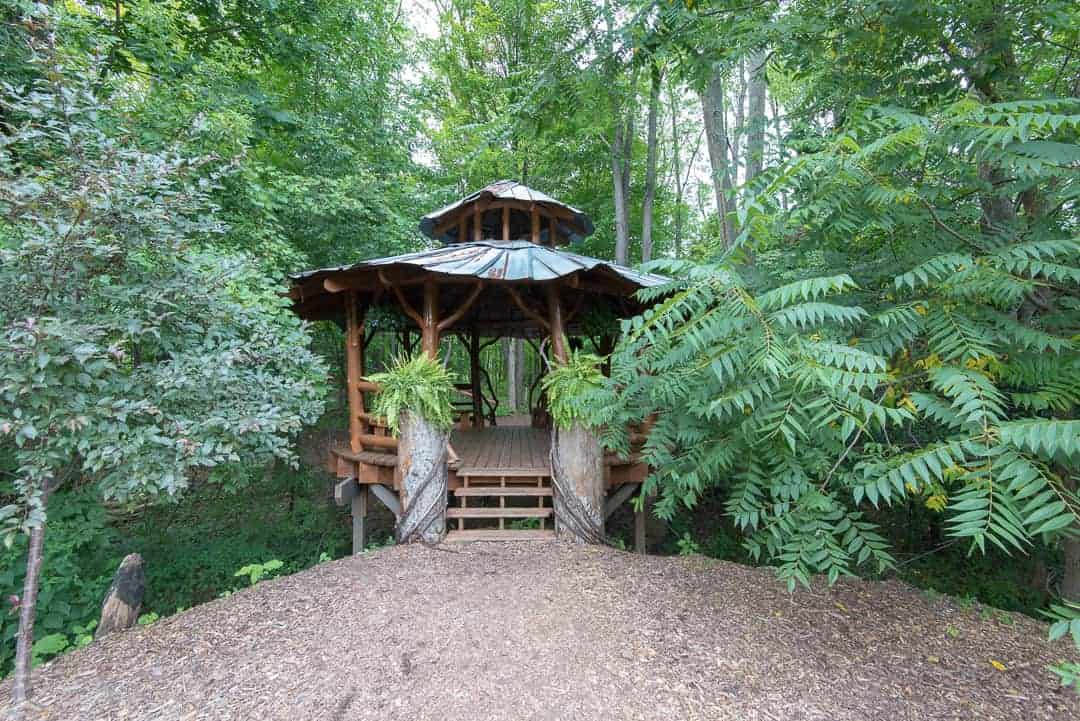
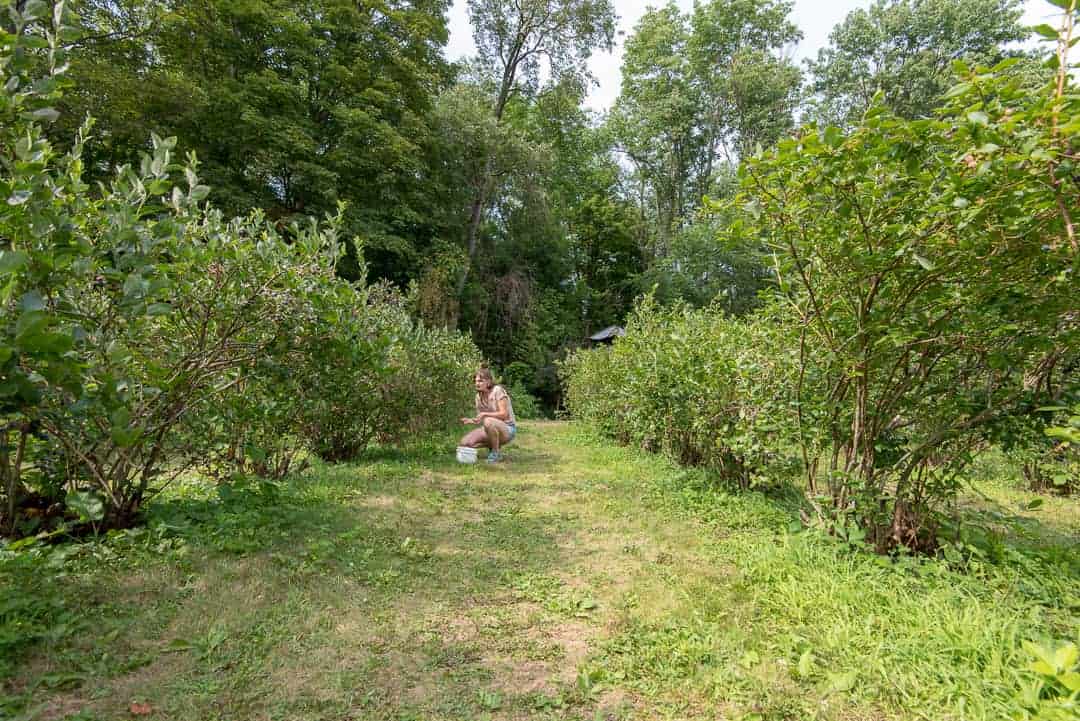
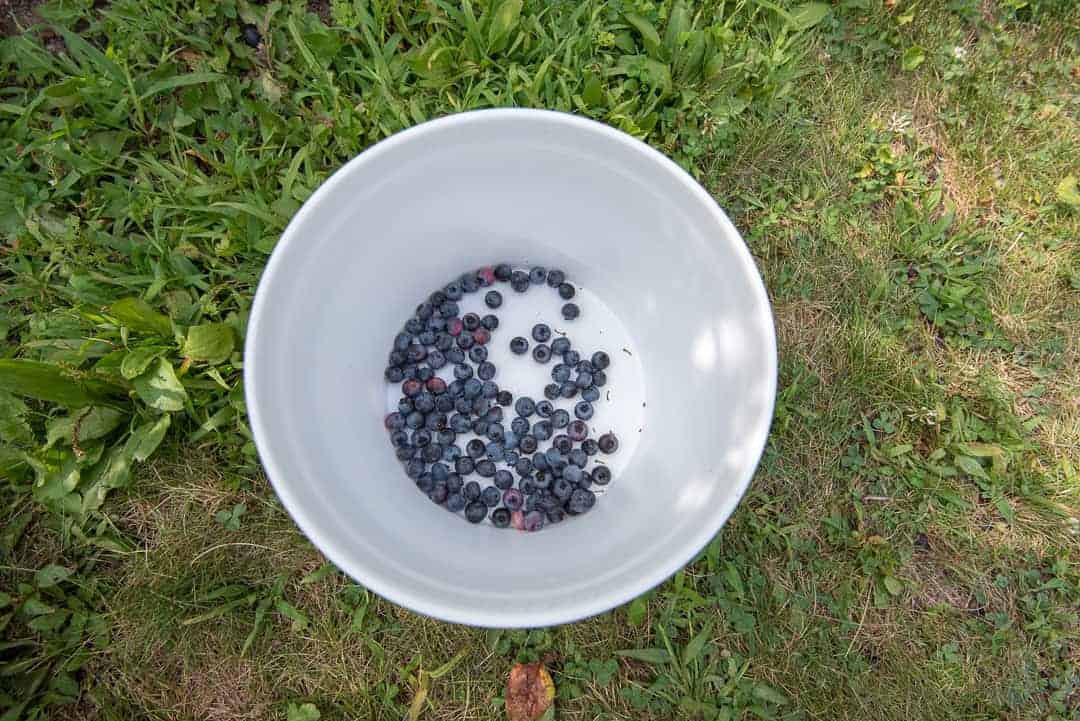
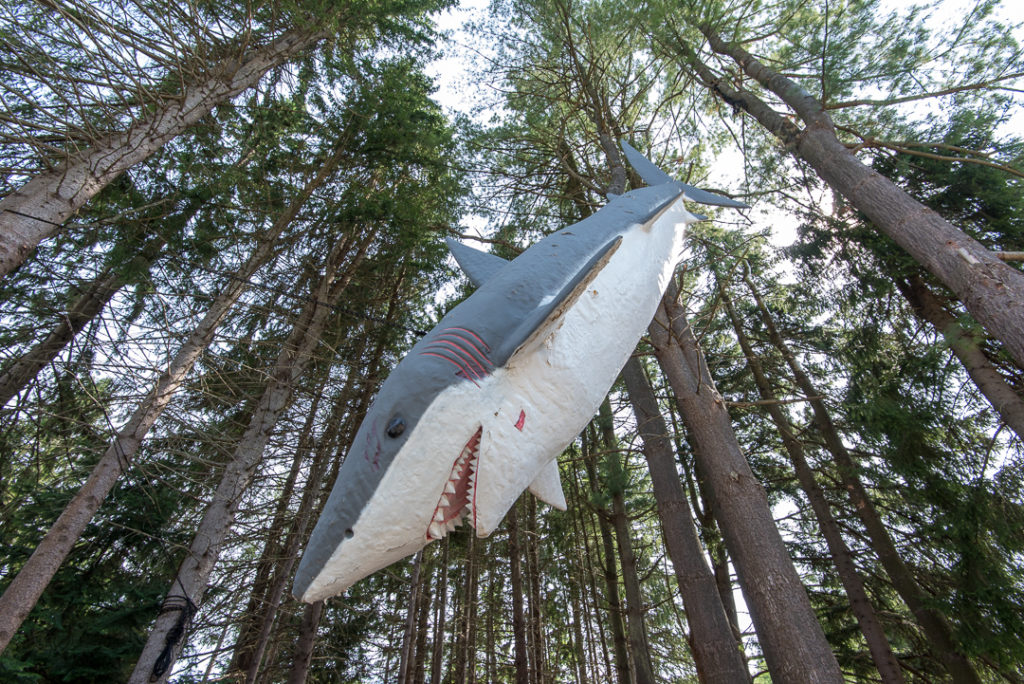
We finish the day with a field trip to the Blueberry Treehouse Farm, because work and play should always go hand in hand.
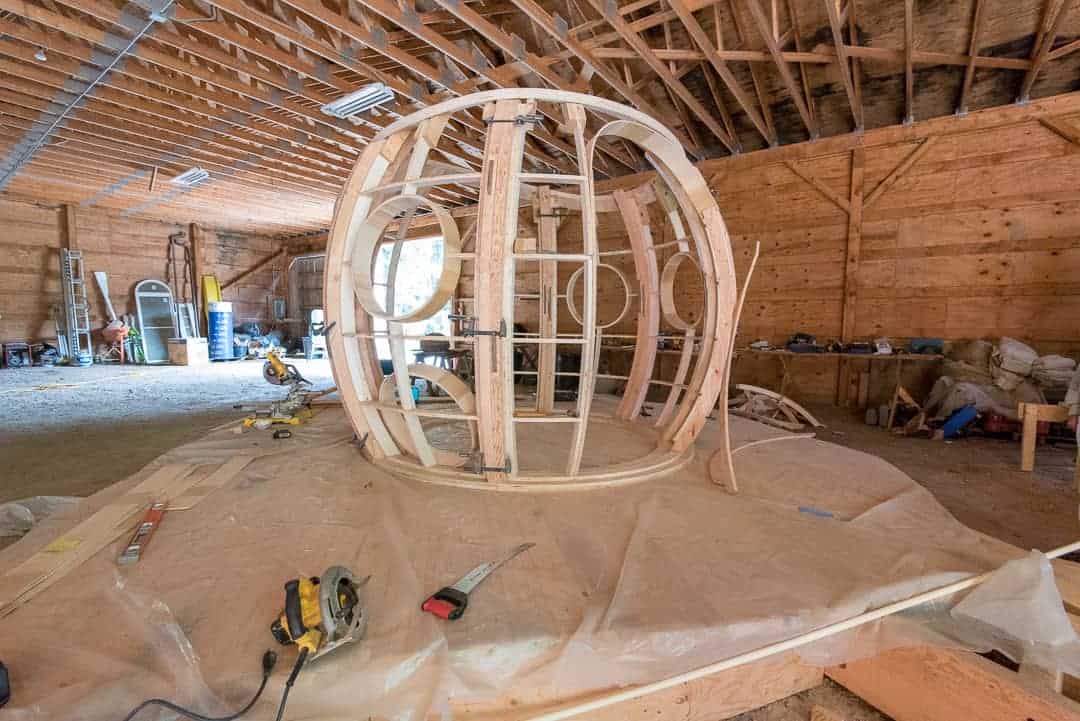
Designer, artist, and builder Ricardo Rivera and his wife Jyl, founded Buffalo Treehouse in 2008. On site, there’s an organic blueberry farm, play space, nature trail with installations, and their workshop. We love seeing fellow workshops….”Girls Gone Woodworking!”
Did I mention there’s a giant great white LAND SHARK!?
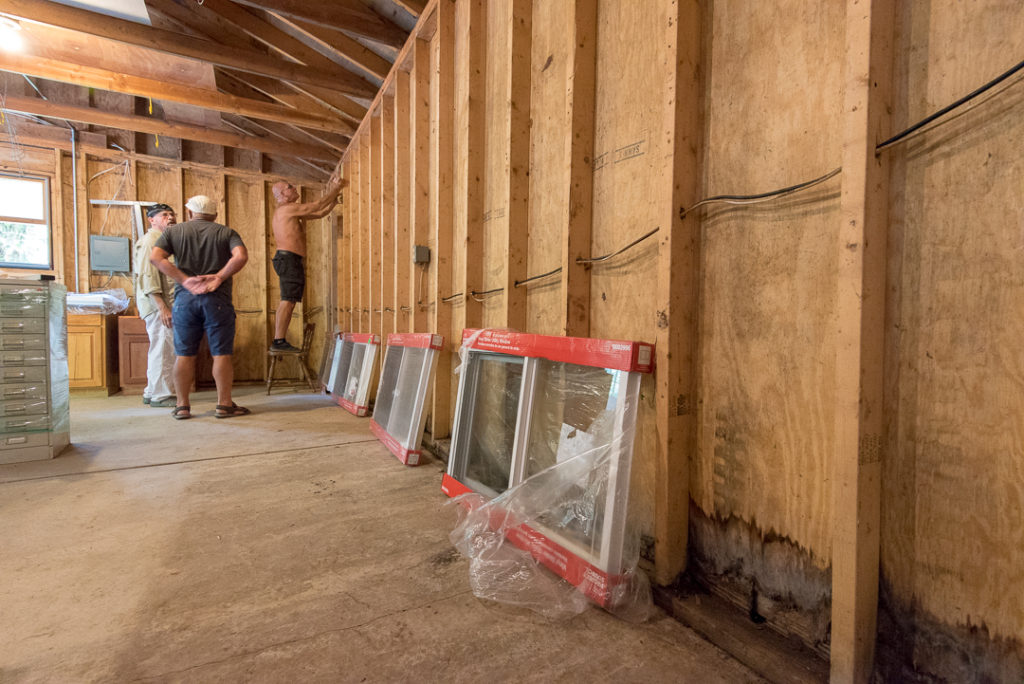
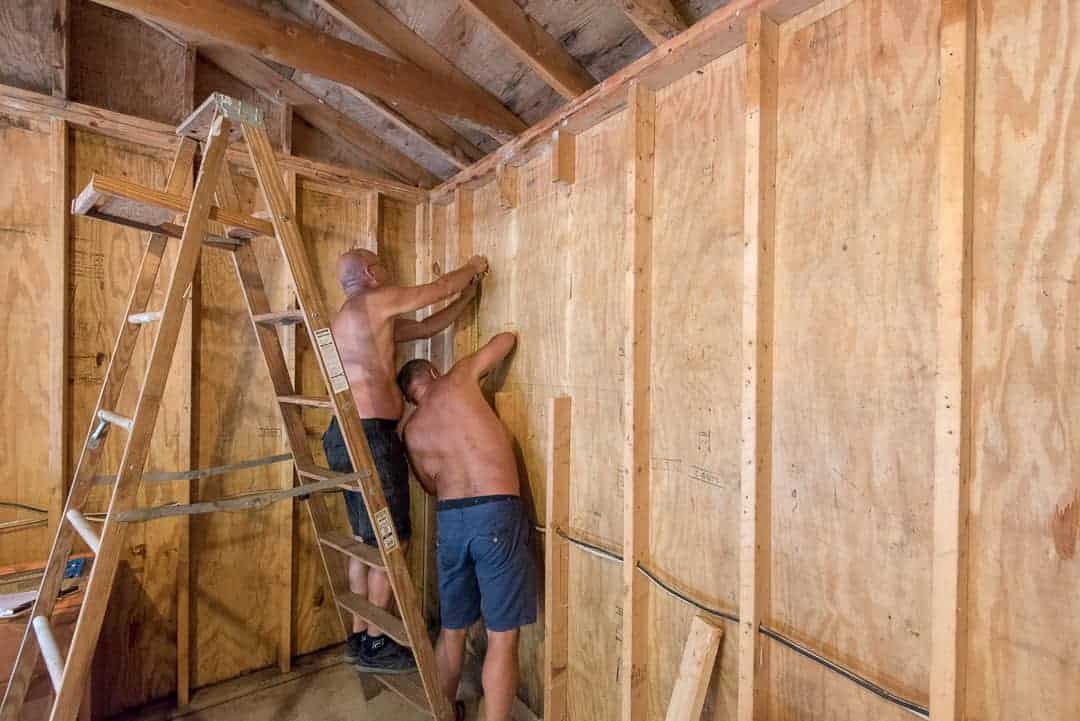
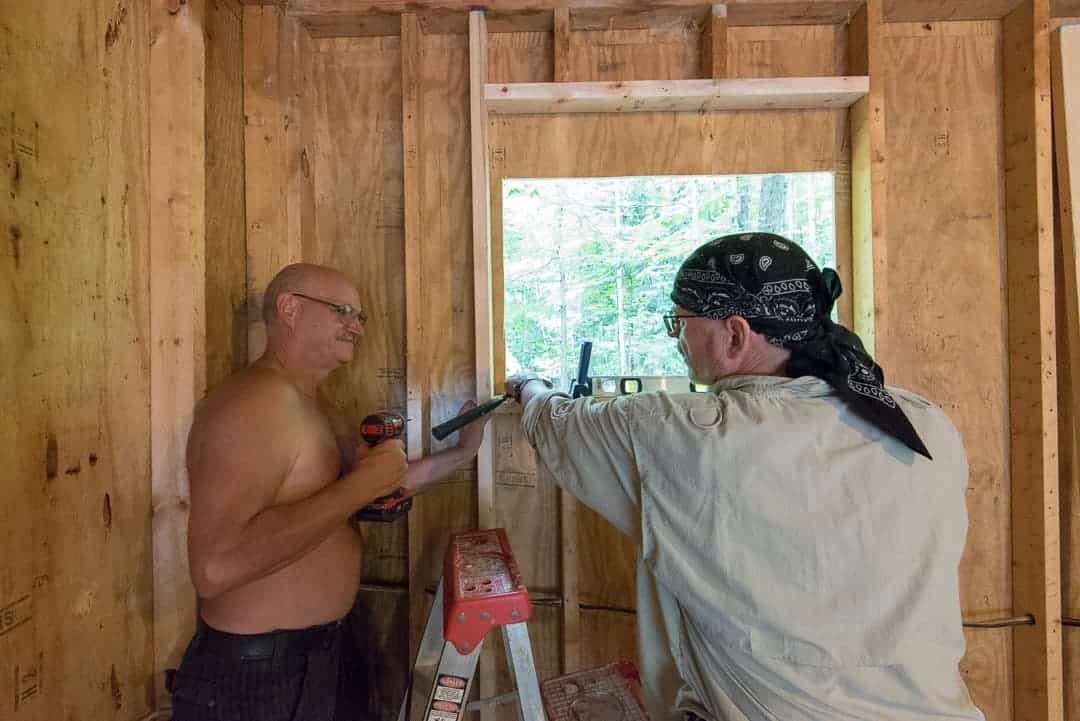
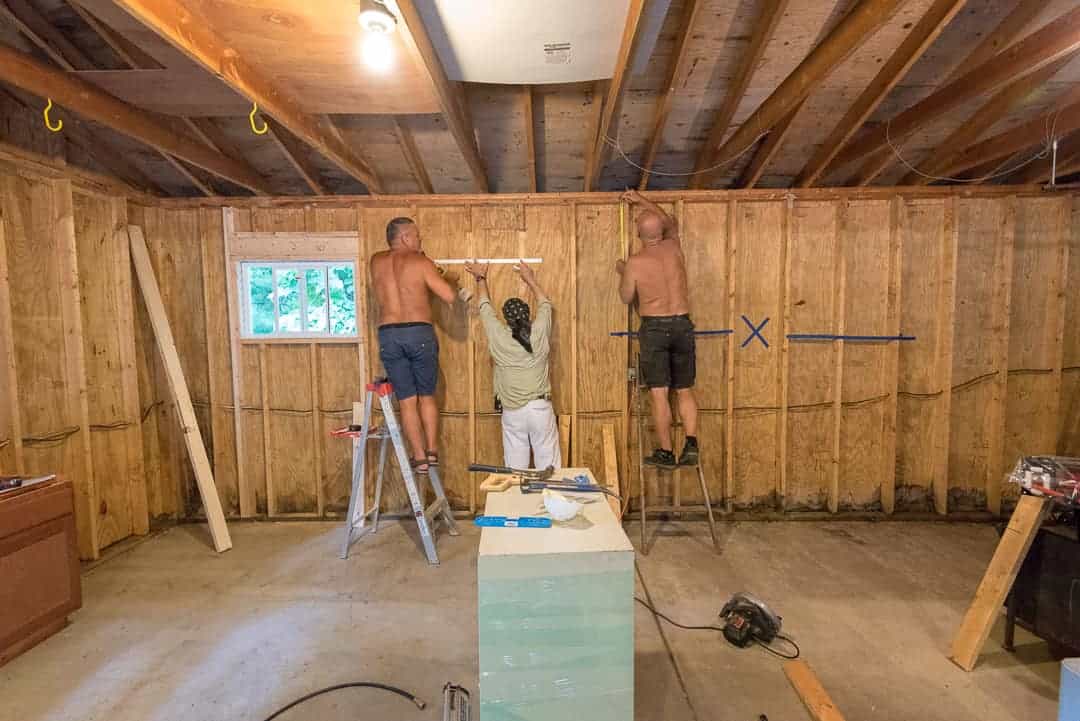
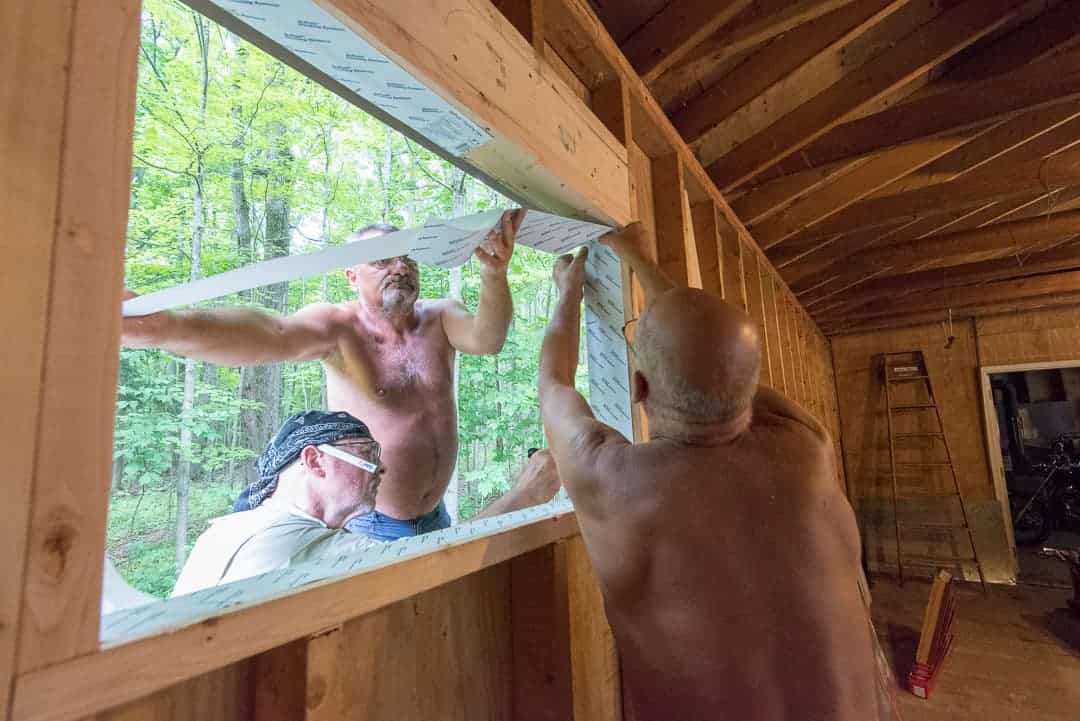
My Dad flew in from Alaska this week to help me build out the shop. Our first item on the list was installing windows, as natural light in the new shop is a huge priority. To add to his arrival, my uncle was passing through town on a road trip to NYC, and stopped by for the night with his childhood friend Uzek. All three of these men are Polish immigrants, and since a building project was underway, shirts came off and ‘Dad Power’ commenced.
I stood by silently while the three of them passionately discussed over the plans for the first window. Everyone had their own view of how these steps should be implemented, but soon orders were established and the work began to flow smoothly. When you are used to doing most things by yourself, it’s quite nice to have extra skilled hands pushing along a project for you.
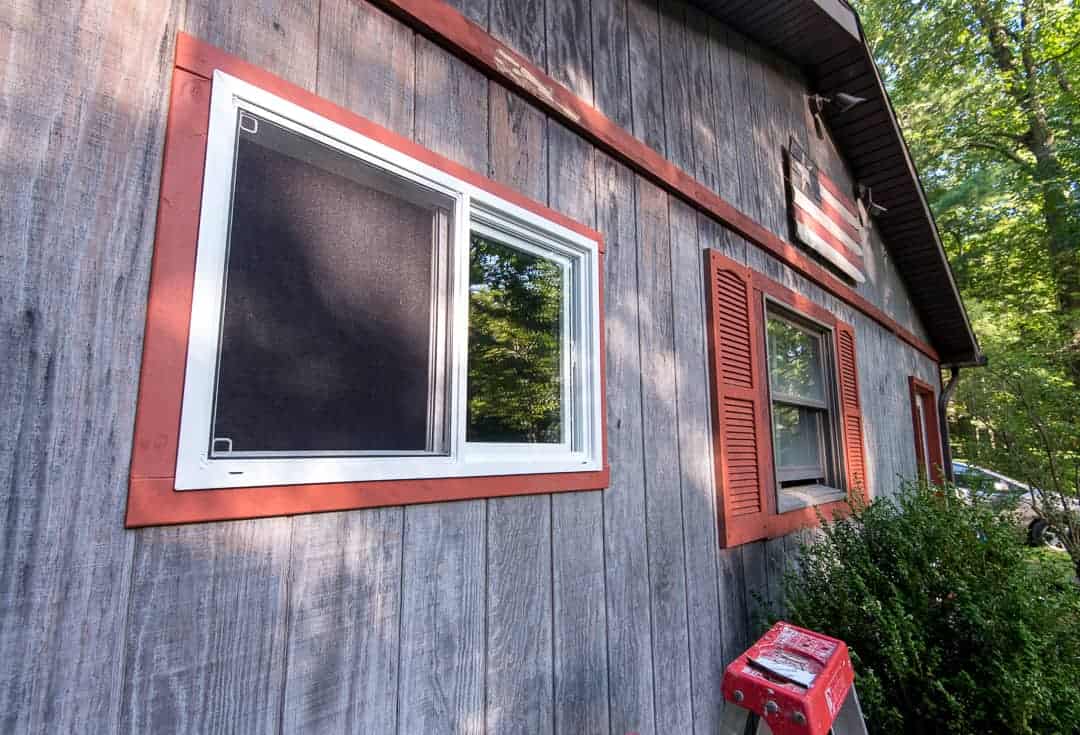
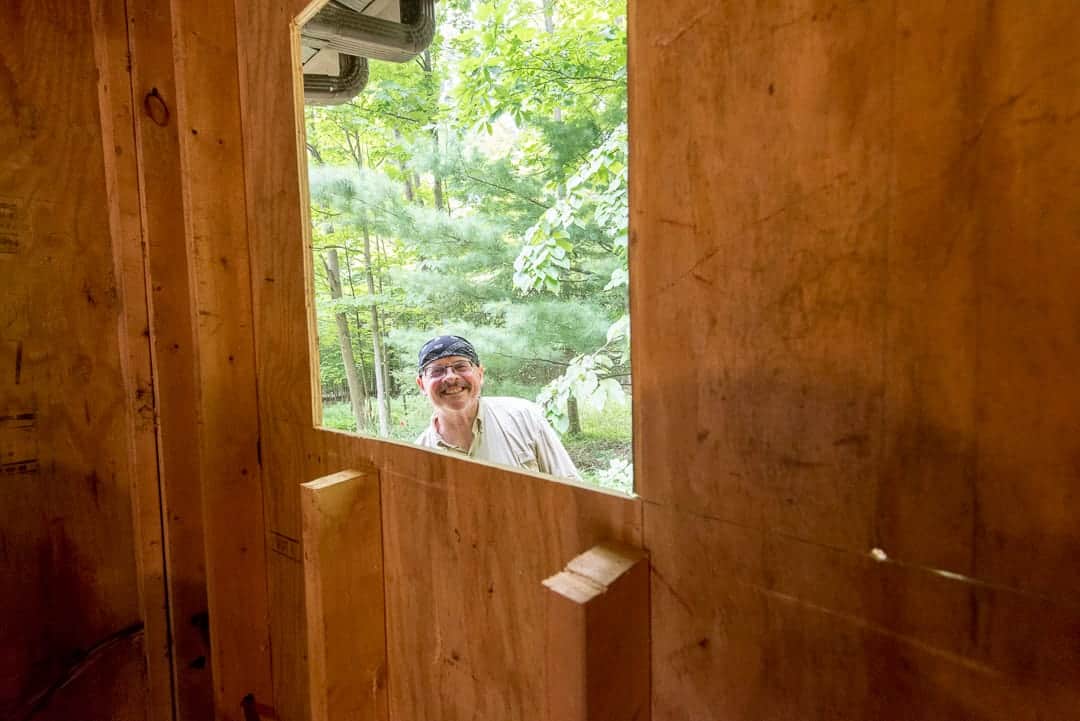
We install all five windows and celebrated with beers and grilled meats.
For years it was my dream to stand in the middle of my wood shop and look out onto nature. It’s a beautiful feeling when a dream comes to fruition. Can’t wait to watch the deer run through snowy winter woods during my work day!
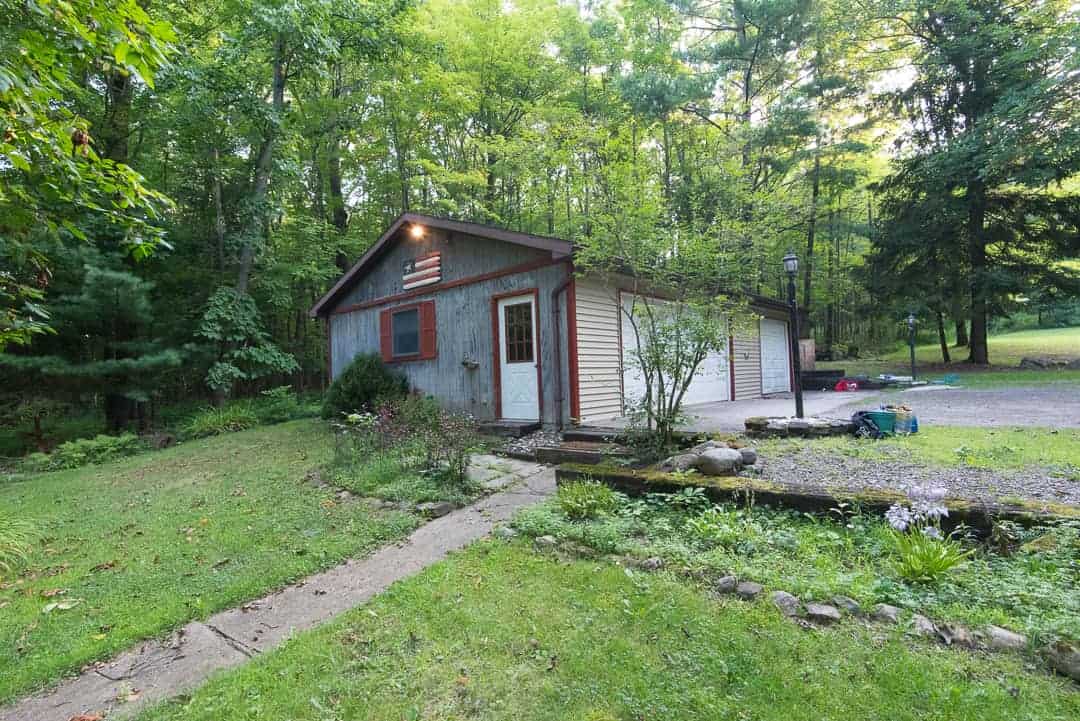
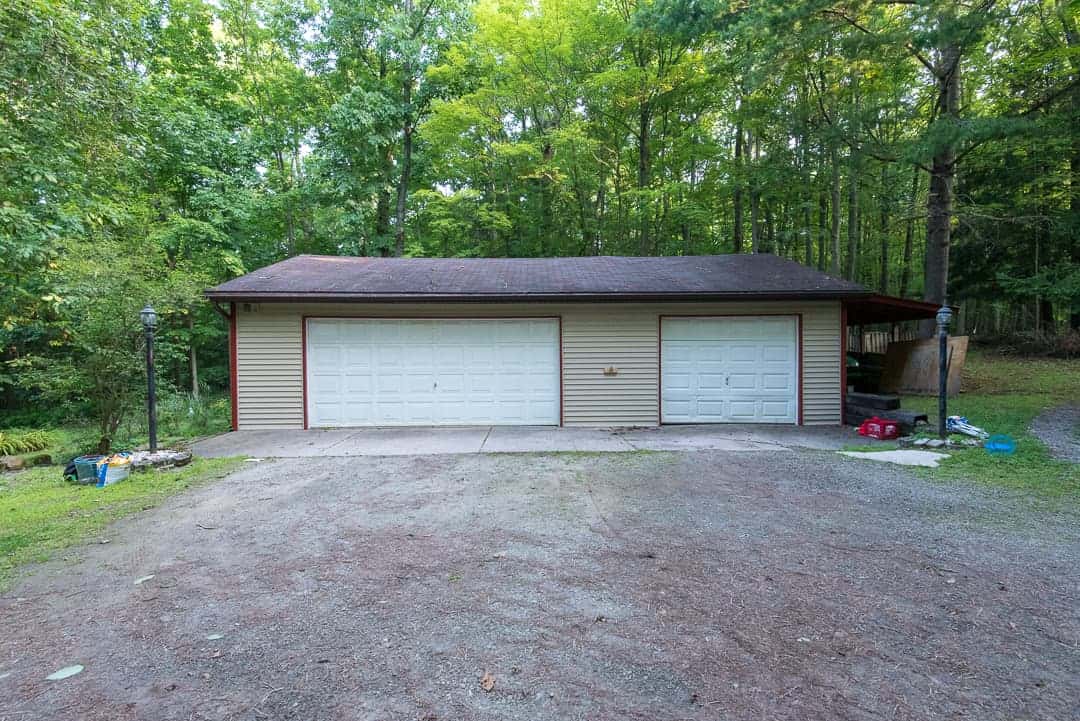
We finally started work on the new shop and I couldn’t be more excited. The previous shop, a run down garage on the west side of Buffalo had its limitations-the roof and foundation wall leaked every time it rained, it wasn’t well insulated and miserably cold in the winter, I had to roll machines in and out of corners for use, wood was stored in every desperate corner, and when I had a big job on the workbench, well it became chaotic. I did the best I could with the space I had, I had no choice. When you want to accomplish big things and all you have is lemons, well you learn to make fruit punch. Yes, fruit punch.
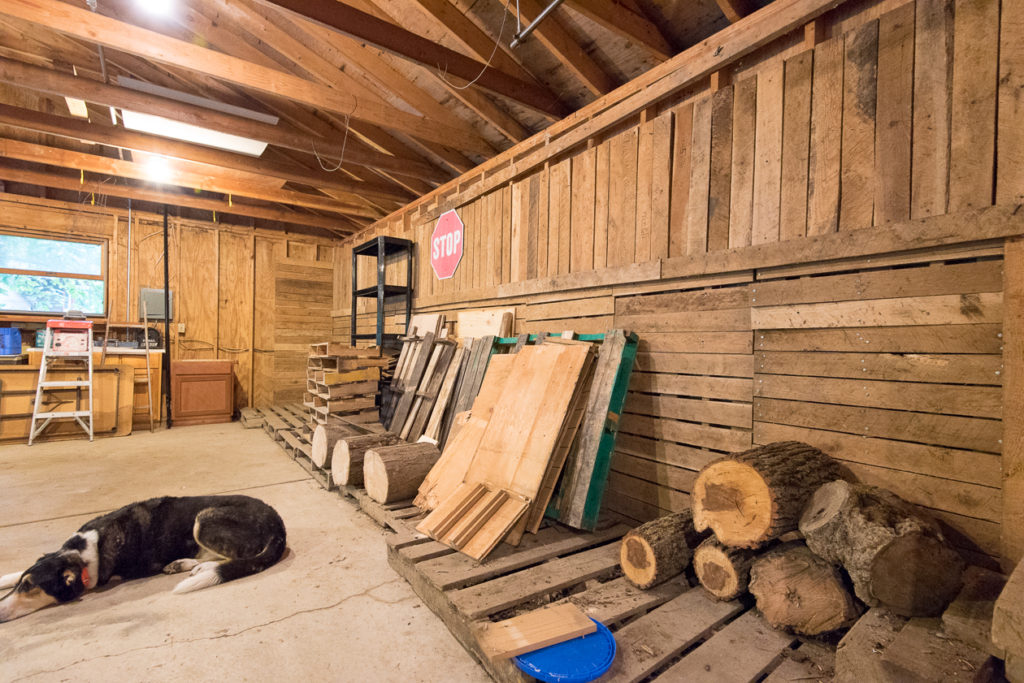
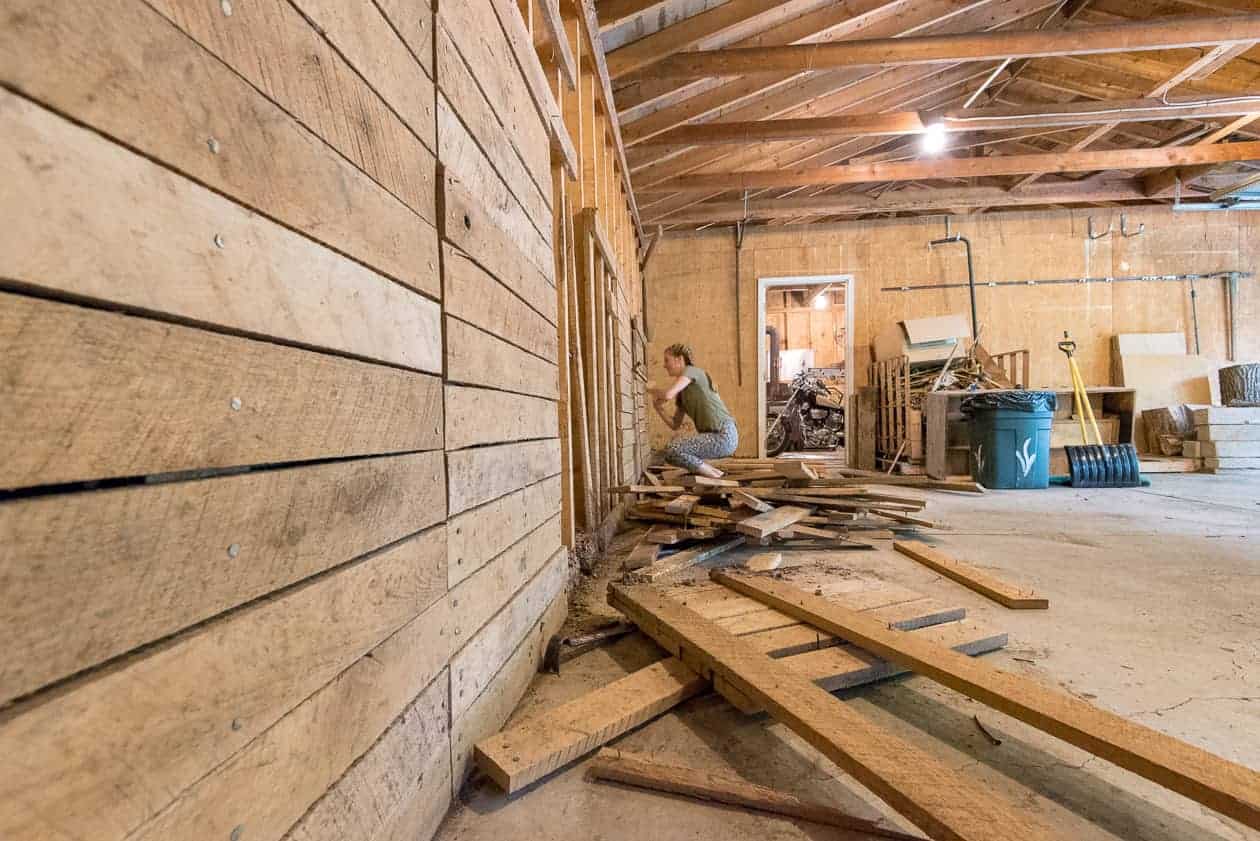
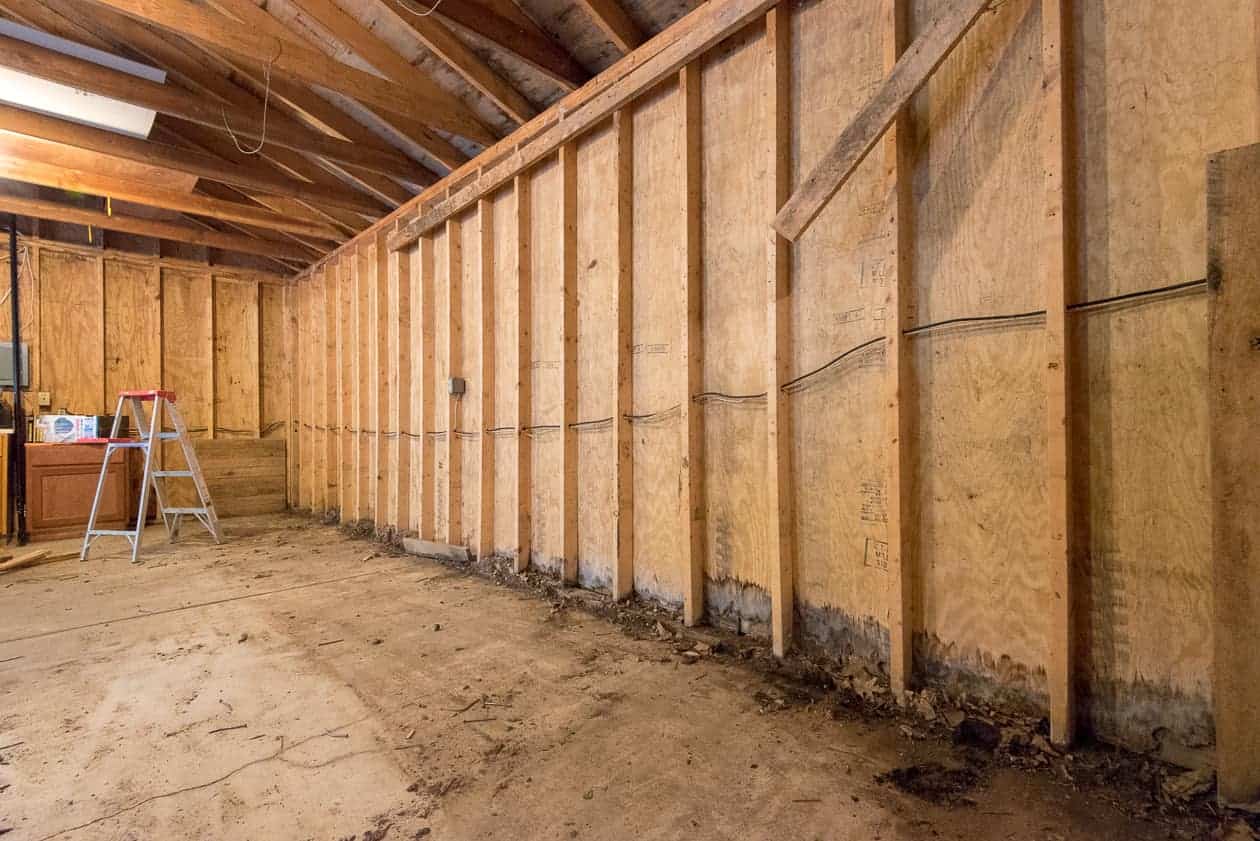
This new shop is my dream shop, surrounded by acres of trees and nature. It’s a solid structure, but it needs a bit of work to be ideal. First task: install windows and insulate the walls. I’ve learned that natural light and heat will keep me motivated and working in the cold winter months. The walls of the new space are built with studs and t1-11 siding. The previous owners covered the back wall with pallets for reasons unknown to me, maybe to reinforce the strength of the wall for storage items, they had a TON of pallets. Unbeknownst to them, they created great nesting cavities for mice and chipmunks. To install the new windows and secure the back wall, all of this had to come down.
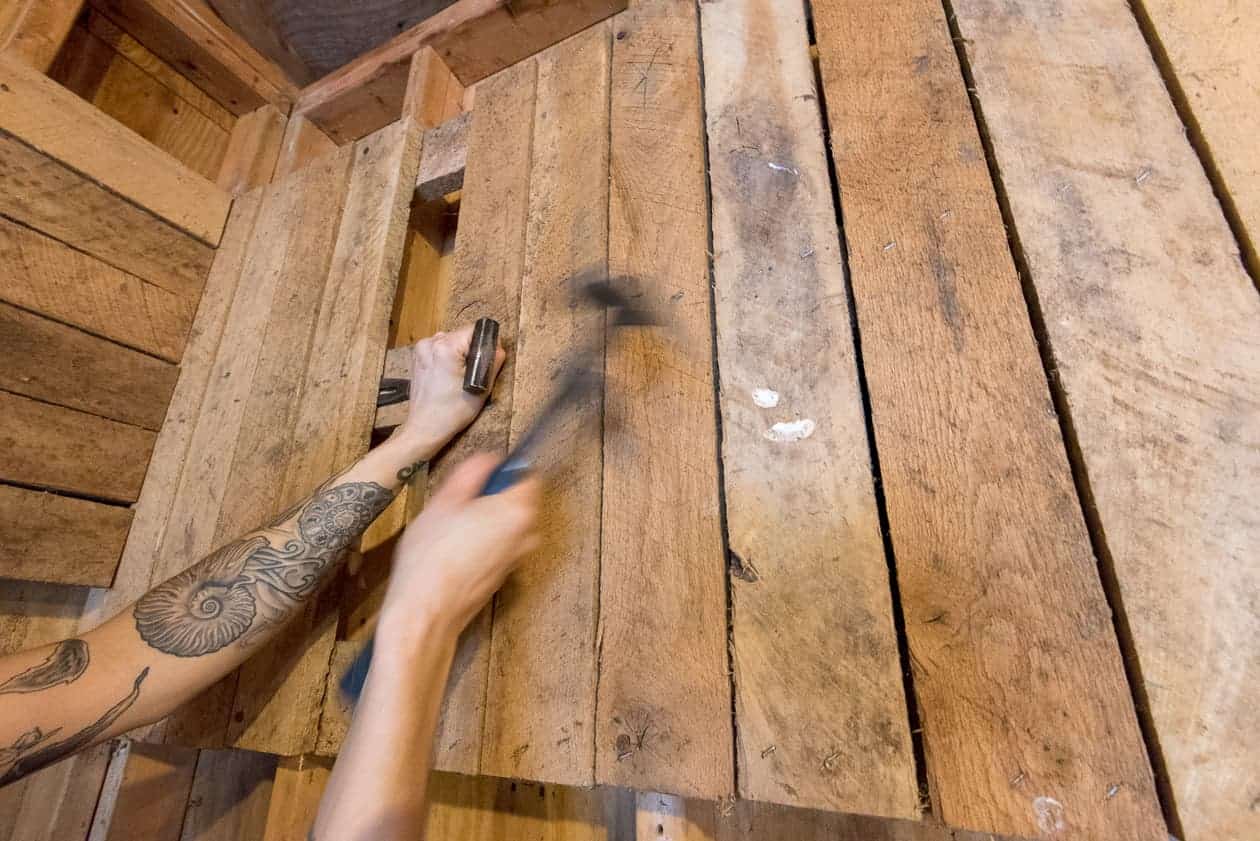
My apprentice Maura came down to help for the day; demo work is always therapeutic and fun, but it’s way more fun with help. Check out our instagram for a funny time lapse video of us demoing. In just a few hours, we managed to open up the whole back wall, exposing some seriously foul smelling mouse nests and water damage to the siding. This will need to be addressed before insulating the walls.
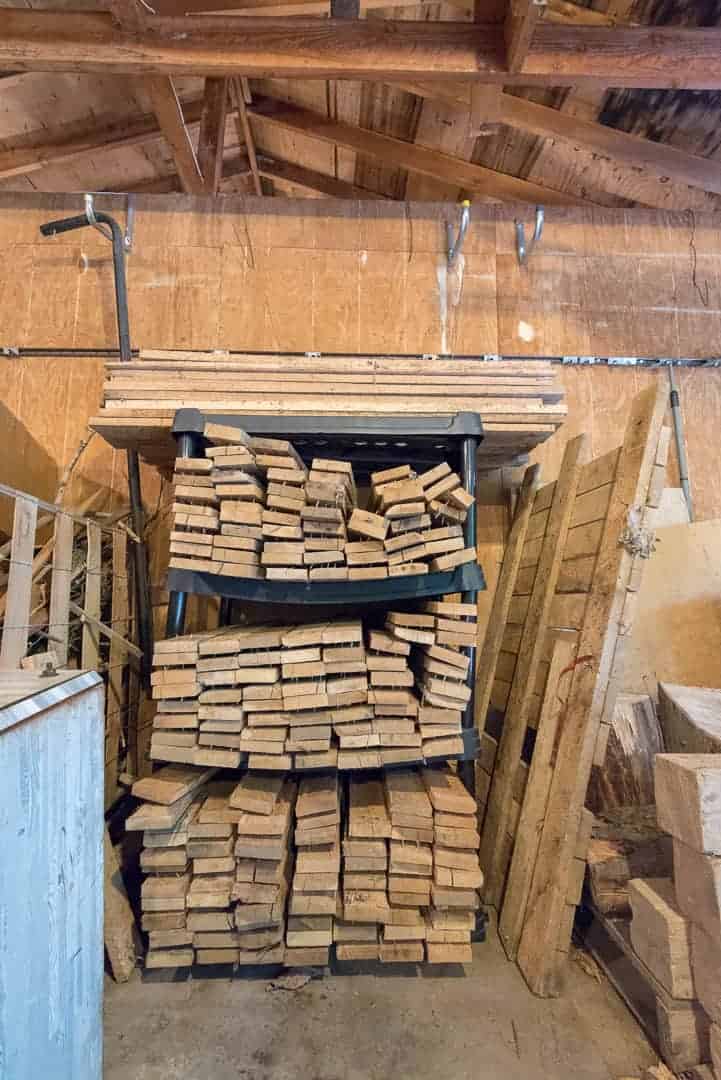
As a bonus, we discovered that ALL the wood nailed to the back wall was OAK!! We neatly stacked up all the boards on a heavy duty plastic shelf the previous owners left behind, will be great for future use. My husband kindly commented that the shelf might be over capacity, but I think the shelf is just smiling about the free load it scored. Till next time.